
Gathering Your Supplies
Finding the Right Ingredients
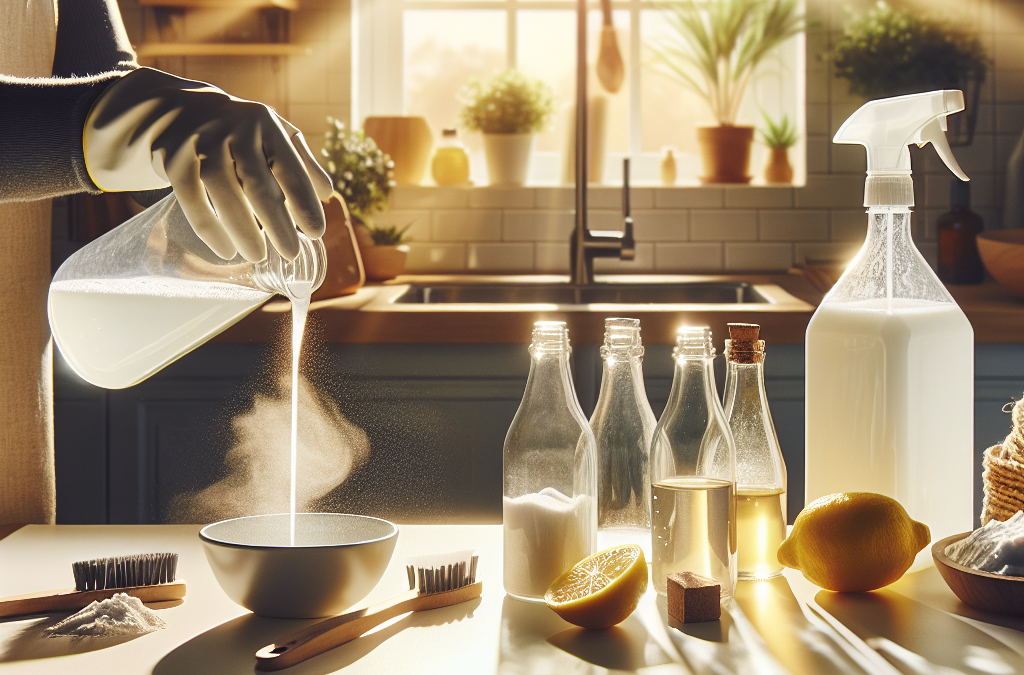
Alright, before you dive headfirst into the world of DIY cleaning products, you need to gather some essential ingredients. The beauty of making your own cleaners is that you likely already have a lot of what you need sitting in your pantry! Common staples like baking soda, vinegar, and lemon juice can work wonders and are super affordable.
I remember my first time attempting this. I thought I needed a whole science lab, but really, it’s just basic kitchen items that do the trick. Each ingredient has its own unique benefits – for example, vinegar is excellent for cutting through grime, while baking soda is a great deodorizer.
Don’t forget about essential oils! They’re not only for making your home smell delightfully fresh, but many can also have antibacterial properties. It’s all about finding what works for you and your unique cleaning needs!

Tools You’ll Need
Once you have your ingredients, it’s time to gather some tools. You won’t need anything too fancy – just some mixing bowls, measuring cups, and spray bottles will do. I like to repurpose old glass spray bottles – it’s eco-friendly and also saves you from having to buy new ones.
Make sure to label your spray bottles, too! The last thing you want is to mist your windows with an all-purpose cleaner instead of a window cleaner. I can’t tell you how many times I’ve mixed things up in a frenzy!
And if you’re feeling crafty, you can even decorate those bottles! A little bit of personality goes a long way, and it makes cleaning more fun when everything looks pretty.
Where to Store Your Supplies
After gathering everything, you need to think about storage. I recommend keeping your supplies in a cool, dry place, and if you have kids or pets, make sure they’re out of reach. Safety first, right?
Some folks like to create a cleaning caddy with everything they need in one spot. This makes it super easy to grab what you need and get to work without having to run around the house searching for supplies.
Trust me, when you’re in the zone and ready to clean, the last thing you want to do is stop for a missing ingredient!
Choosing the Right Recipes
All-Purpose Cleaner
Now, let’s get down to the fun part – recipes! Starting with an all-purpose cleaner is a great choice. It’s perfect for wiping down surfaces in the kitchen, bathroom, and pretty much anywhere else that needs a bit of sprucing up.
A basic recipe involves mixing equal parts of vinegar and water, and adding a few drops of your favorite essential oil. It’s simple and effective. I also like to add a little bit of lemon juice for a fresher scent and extra cleaning power!
The best part? This cleaner is safe to use on most surfaces, so you don’t have to worry about damaging your countertops or furniture.
Glass Cleaner
No one likes streaky windows, right? A homemade glass cleaner can be your new best friend. I’ve found that a mixture of one part vinegar to three parts water works like a charm.
Just put it in a spray bottle, spritz it on your windows, and wipe it down with a microfiber cloth. Voila! Sparkling clean glass that’s also safe for you and the environment.
If you want an even greater scent, you can add a few drops of essential oil. Just be aware of using oils that could leave a film, which might defeat the purpose here!
Bathroom Cleaner
Your bathroom is often a hotspot for grime and buildup, but making your own cleaner can tackle those difficult areas like tubs, sinks, and toilets. A paste made with baking soda and vinegar can work wonders. Just sprinkle baking soda, spray it with vinegar, let it sit, and then scrub. It’s like magic!
For tougher stains, I use a bit of dish soap mixed in. Not only does it cut through grease, but it also helps to lift stains that have been sitting for a while. Seriously, this stuff should be in every bathroom cabinet!
Don’t forget to finish off with a nice rinse to ensure all the cleaner is washed away, leaving your bathroom fresh and bright!
Testing and Adjusting Your Cleaners
Trial and Error
One thing I’ve learned is that not every recipe works perfectly the first time. Sometimes, you might need to tweak the ratios a bit! Don’t be afraid to experiment and take notes on what works and what doesn’t.
For instance, I’ve had batches where it was just too harsh or not effective enough. Adjusting the vinegar content or adding a bit more soap should do the trick! Think of it like cooking – sometimes you’ve got to taste and adjust.
The beauty of homemade cleaners is that you can customize them to your liking. Want it more fragrant? Toss in some more essential oils. Make it work for you!
Observing Results
Once you’ve got your recipes down, start to observe how well they perform. Pay attention to surfaces that seem to collect more dirt or stains and adjust your cleaning frequency and products accordingly.
If you notice that something isn’t cutting it, don’t hesitate to go back to the drawing board. It could be that a different ingredient combination is required, or you need to give it more time to work its magic. Life is about learning, right?
I find that keeping a small diary or notes on the fridge helps remind me of what works and what doesn’t, and it can make future cleaning sessions a breeze!
Listening to Feedback
If you live with others, it’s always a good idea to get feedback on how well your products work. They might have insights on what they’ve seen in their own cleaning experiences.
Creating a dialogue not only makes cleaning less of a chore but can also improve the recipes you’re using. Plus, it’s fun to share the little successes and maybe even dabble in teamwork!
Don’t shy away from asking friends or family what they think. They might have suggestions or even their own recipes you’d want to try!
Staying Safe and Informed
Check for Allergies
Before diving into all these natural cleaning recipes, it’s crucial to be aware of allergies. Even common items like essential oils can trigger sensitivities in some folks.
When I first started using essential oils, I assumed they were safe for everyone, but I learned the hard way that checking with others is a must. So, don’t skip that step! A little communication can save a lot of headaches.
If you or someone in your household has allergies, consider sticking to plain vinegar or baking soda until you figure out what’s safe.
Researching Ingredients
Make sure you keep yourself informed about the ingredients you choose. While many natural products are safe, there are exceptions. Some acids or chemicals can be harmful if mixed incorrectly.
Before trying out a new ingredient, I always look it up to ensure it’s safe to combine with my favorite staples. Better safe than sorry, right?
A little knowledge goes a long way in ensuring you’re using these homemade products without any issues. And who doesn’t love a little peace of mind?
Storing Properly
Finally, ensure that you’re storing your cleaning products correctly. Mistakes can happen, and the last thing you want is a spill or a mix-up.
Always label containers clearly. I like to write the name of the product and its intended use on the bottle, just to be extra safe. I’ve had my share of mishaps, and I can’t emphasize enough the importance of proper storage!
Keeping everything organized along with an eye on the shelf life of ingredients will help you stay safe while enjoying your homemade cleaning routine.
FAQs
1. Are homemade cleaning products safe for children and pets?
Yes! Most homemade cleaners use natural ingredients like vinegar and baking soda, which are generally safe. Just be mindful to keep all cleaning supplies out of reach of little ones and pets.
2. How do I know which essential oils to use in my cleaning products?
Research is key! Many essential oils like tea tree, lavender, and lemon have antibacterial properties. Choose oils based on your preferences and their cleaning capabilities.
3. Can I use homemade cleaners on all surfaces?
Most homemade cleaners are safe for various surfaces, but it’s always a good idea to test a small, inconspicuous area first. This way you avoid any potential damage.
4. How long do homemade cleaners last?
Generally, homemade cleaning products last about 1-3 months, depending on ingredients. Always check for any changes in smell or appearance before use.
5. What if I have a stubborn stain or spot that won’t come out?
Keep trying! Sometimes, it takes a little extra scrubbing or a different approach. Don’t be afraid to adjust your cleaning solution or use a combination of products for tough stains!


