Understanding Solar Water Heating Systems
What Is a Solar Water Heater?
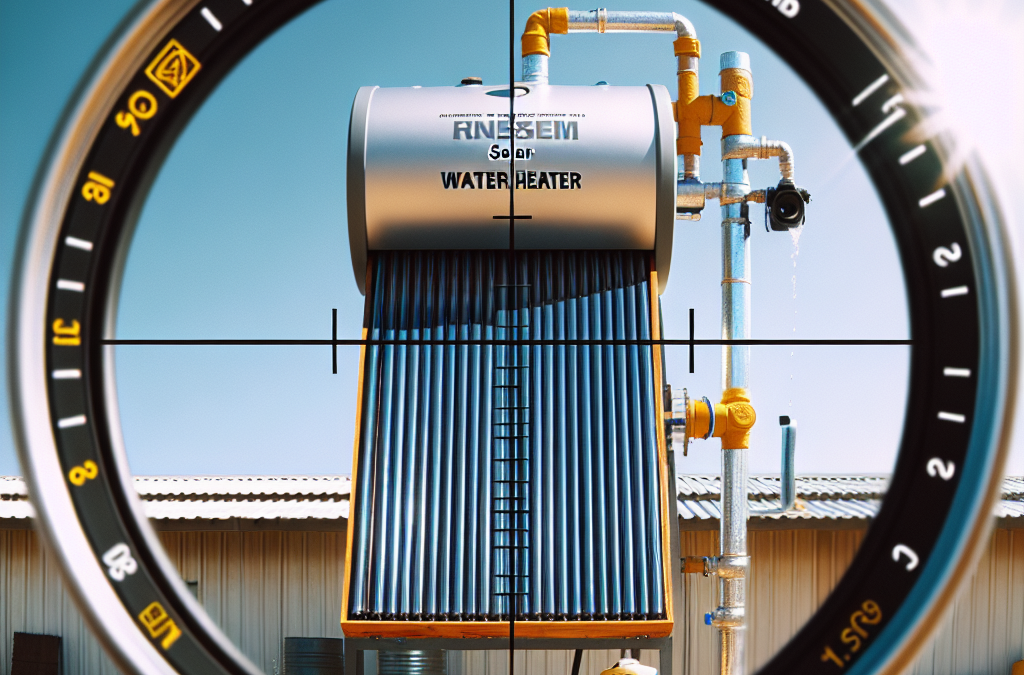
So, let’s dive right in! A solar water heater captures sunlight to generate heat, which is then used to warm water. Unlike traditional heaters that rely on gas or electricity, solar heaters use a renewable energy source that’s free and abundant. It’s a game-changer for reducing energy costs and your carbon footprint.
There are generally two types: active systems that use pumps to circulate water, and passive systems that rely on natural convection. I’ve found passive systems to be more straightforward, especially for DIY projects. They’re simpler and can be more reliable with fewer moving parts. Plus, there’s nothing like helping Mother Nature!
After implementing my first solar heater, it was super satisfying to know I was harnessing the sun’s energy. And let’s be real, it’s a fantastic conversation starter too!
Selecting the Right Materials
Choosing the Right Tubing
When it comes to building your system, you need to select the right tubing material. Copper, for instance, is excellent for heat transfer but can be pricey. On the flip side, PEX tubing is affordable and quite durable. It might not absorb heat as well, but it’s flexible, making it great for custom builds.
I’ve had success with a hybrid approach: using copper for certain connections while relying on PEX for longer stretches of tubing. Mixing materials can help in optimizing both cost and performance!
Don’t forget that proper insulation is key! The last thing you want is heat escaping from poorly insulated connections. Trust me, I’ve learned this the hard way on a chilly morning!
Designing Your Solar Collector
Choosing the Right Collector Style
The type of solar collector you choose can greatly influence your system’s efficiency. Flat plate collectors are common because they’re relatively simple to construct. However, evacuated tube collectors can be more effective, especially in colder climates since they do a better job retaining heat.
When I was designing my solar collector, I opted for the flat plate style. It was a bit easier to set up, and with the right angle to the sun, it worked like a charm! Just remember to tilt your collector at an angle suitable for your geographic location. This can really amp up your heating capacity.
Also, consider using reflective materials around your collector to enhance its performance. Sometimes a small tweak can make a world of difference in how well your collector absorbs sunlight.
Setting Up Your System
Installation Steps Overview
Alright, once you’ve gathered all your materials, it’s installation time! Start by determining the best location for your solar collector. Ideally, it should be on a roof or another area that gets unobstructed sunlight throughout the day.
Next up, secure the collector in place. Make sure it’s sturdy! The last thing you want is for your hard work to go tumbling down during a windy day. I used some simple wood supports which worked perfectly.
Finally, connect the tubing between the collector and the storage tank. This is where you’ll want to pay attention to details. Ensure all fittings are tight and insulated to prevent any heat loss. I learned this tip after discovering a small leak on my first run—it was less than ideal!
Maintenance and Troubleshooting
Regular Maintenance Checks
Now that everything’s set up, don’t forget about maintenance! Regularly check for signs of wear and tear on the tubing and collector. Trust me, you don’t want to find out your system isn’t working during a chilly shower moment!
Cleaning the collector is crucial in maximizing efficiency. Dust or debris can accumulate and block sunlight. I generally give mine a rinse with water and a soft cloth about once a month during sunny seasons.
If you notice a significant drop in performance, it might be time to check for any blockages in the system. Sometimes a simple unclogging can restore things back to full capacity. I’ve learned that every hiccup is an opportunity to improve the design!
FAQ
1. Can I install a solar water heater myself?
Absolutely! Many DIY enthusiasts have successfully installed their own systems. Just be prepared for some learning along the way. Take your time, and don’t hesitate to consult online tutorials!
2. How much does it cost to build a solar water heater?
The cost can vary based on materials and design, but many find it’s much cheaper than purchasing a commercial system. On average, you might expect to spend anywhere from a few hundred to a couple of thousand dollars.
3. Will a solar water heater work in winter?
Yes, solar heaters can still work in winter, especially if you use evacuated tube collectors, which retain heat better. Just ensure they’re properly angled and that you may need to supplement with another heating source during extremely cold months.
4. How long does it take to heat water with a solar heater?
This depends on several factors: the size of the system, the sunlight’s intensity, and the temperature of the water at the start. In sunny conditions, it can take just a few hours to get hot water ready.
5. What materials do I need to build a DIY solar water heater?
You’ll need tubing, a collector box, insulation, a storage tank, and possibly some reflective materials. I’d recommend checking out local hardware stores or online retailers for economical options!


