
Gathering Materials
Understanding Cob Ingredients
When I first started my cob house project, I had to understand what cob really is. It’s a mixture of clay, sand, and straw, which when combined, creates a super durable building material. The key here is to get the right proportions. Too much sand and it won’t hold together; too much clay, and it can crack. It’s like a balancing act!
Next up is sourcing these materials. Luckily, many of them can often be found right in your backyard or local area. I found some fantastic clay-rich earth that’s perfect for my project. Straw was a little trickier to source, but local farms usually have some to spare. Getting your hands on good materials will save you a ton of cash, too!
Finally, check with your local regulations. I was amazed at how many resources are out there for natural building materials. Local building codes can sometimes be gettwisted, so chatting with a local group or even the county planning office was super helpful for me.
Site Preparation
Choosing the Right Location
Site selection is pivotal. I remember wandering around my land to find that perfect spot. Look for a location with good drainage and sunlight. I did a little digging (pun intended!) to ensure my spot wouldn’t flood in the rainy season. Honestly, you don’t want your beloved cob house to turn into a mud pit!
Next, clear the area of any obstructions like trees or big rocks. It took me a weekend to get my chosen site ready, and I felt pretty accomplished afterward. Trust me; putting in this effort upfront will save you loads of hassle later.
Finally, I laid out the dimensions of my home. I used stakes and string to map out the foundation. This visual representation was super helpful in giving me a sense of the space I was working with. It can all seem overwhelming, but breaking it down into smaller tasks helps a ton.
Building the Foundation
Creating a Solid Base
Foundations aren’t the most glamorous part of building, but they’re vital. I opted for a stone or rubble foundation as I wanted something that could handle the weight of my cob walls. I loved the rustic feel it gives while keeping my home grounded. I spent a good part of my first week here making sure everything was level, which is crucial!
After getting the materials together, I dug out a shallow trench to hold the stones. Layer by layer, I piled the stones and packed them tightly, ensuring they wouldn’t shift over time. It’s a workout, you guys! But seeing the progress felt so rewarding.
Lastly, I added a bit of waterproofing that would help keep moisture from climbing up into the walls. I had just enough leftover clay and straw that I mixed with some brush to make a little barrier. It felt good knowing I was taking significant steps to protect my future home.
Developing the Cob Mixture
Getting Your Mixing Technique Down
Mixing cob is like cooking; you need the right technique! I found that doing it by foot was the best way to combine my clay, sand, and straw. It was messy but surprisingly fun. There’s something therapeutic about squishing it all together, and you know when you find that good texture! It should be moldable and slightly sticky but not overly wet.
My neighbors thought I was a bit crazy at first, but I showed them the beauty of cob once they came to check it out. It’s all about trial and error, and you learn quickly what works best for your specific mixture. So don’t fret if it takes a couple of tries!
P.S. Be prepared to sweat because mixing cob can be quite the workout. Many times, I was grateful for those little breaks, drinking water while admiring what I was crafting. It’s essential to stay hydrated and take care of yourself during this muddy journey.
Constructing the Walls
Building Techniques to Try
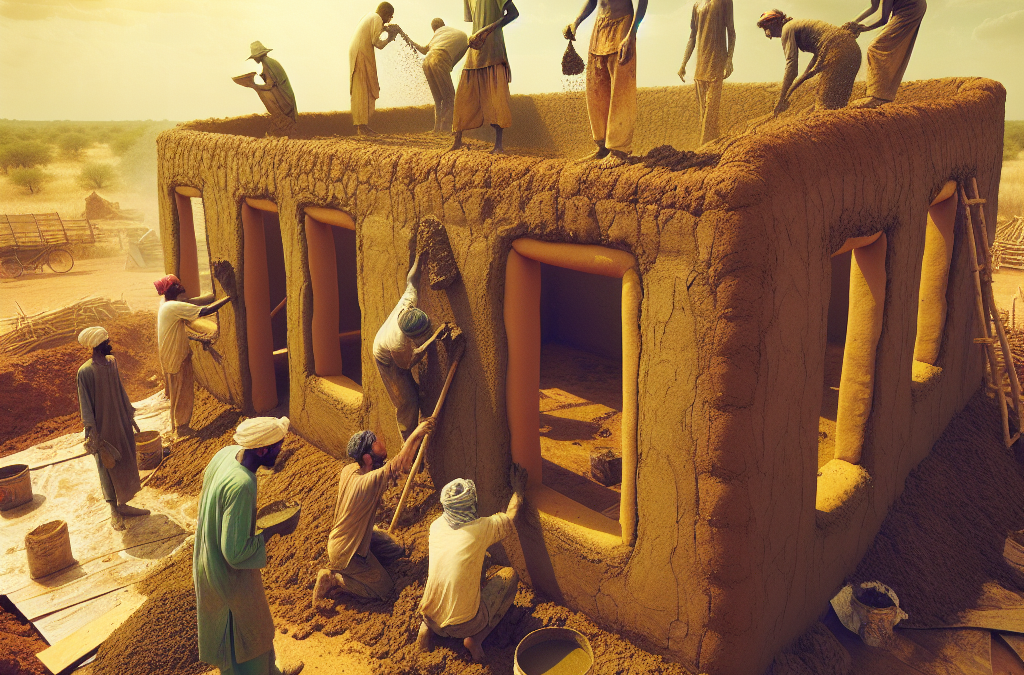
Now, the real fun begins—putting the walls up! I started with a few rows of cob at the base and worked my way up. Each “cob” is a hand-formed lump that gets squished into place. I learned that building in layers is key—it gives the wall time to dry and solidify before going up higher.
Along the way, I kept checking for plumbness using a level. If you see your walls start leaning, it’s time to backtrack a bit and fix it before more layers go on. Patience is important here—take your time! I wish I had known this beforehand to avoid a bit of extra work later.
Lastly, you can incorporate windows or doors as you go along. This step was super exciting, as the vision of my cob home began to take shape. I used templates to ensure each opening was just right. Seeing the walls come alive made all the hard work worth it!
Final Touches and Completion
Finishing Details That Matter
After many days of building, the final touches were in sight! I took my time smoothing out the walls, giving them a polished look. It’s amazing what a little elbow grease can do. I used a mixture of sand and clay as a finishing plaster, which not only looks beautiful but also provides extra durability.
I also started on the roof. This was a massive step, and after some studying, I settled on a thatch roof to practice the natural building methods I love so much. I felt so proud as I placed the final piece into place, really sealing my home.
As a last hurrah, I painted some of the walls using natural pigments. This step allowed me to infuse my personality into the house while keeping it eco-friendly. I can’t express how fulfilling it was to stand back and look at my cozy cob home—each little detail a testament to my hard work and love.
FAQ Section
1. What materials do I need to build a cob house?
You’ll mainly need clay, sand, and straw. These are the fundamental ingredients for cob. Additionally, you’ll need some waterproofing materials and a solid foundation structure, like stones or rubble.
2. How do I ensure my cob walls stay dry?
It’s essential to have good drainage around your home and use a waterproof barrier on your foundation. A roof that overhangs can also help keep rainwater from beating against the walls.
3. Is building with cob environmentally friendly?
Absolutely! Cob homes are built with natural materials that are abundant and renewable. They are also energy efficient due to their thermal mass, which helps regulate temperature indoors.
4. How long does it take to build a cob house?
It varies depending on size and experience, but most cob homes take several months to a year to complete. It really is a labor of love, so enjoy every step of the process!
5. Can I get help building my cob house?
Definitely! Many communities and workshops offer cob building classes. Getting involved with local builders or enthusiasts can provide invaluable skills and support during your journey!


