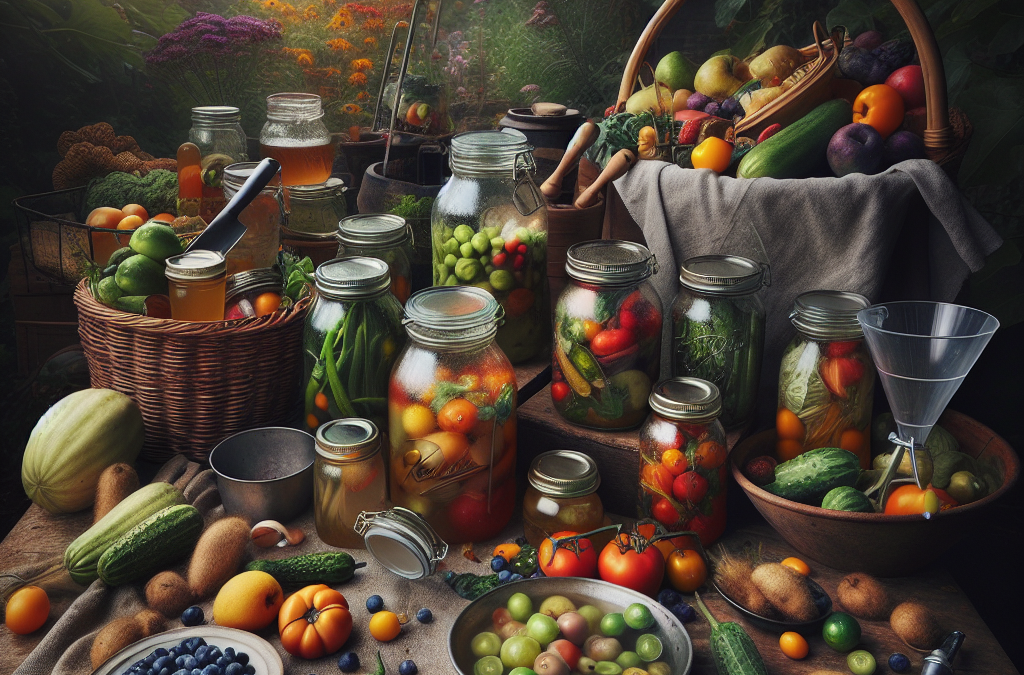
Getting Started with Canning
Understanding the Basics
Canning has been around for ages, and let me tell you, once I got into it, it changed the way I appreciated my garden. It feels like a miracle; you can extend the life of those summer fruits and veggies for months! The basics are quite simple: you fill jars, heat them, seal them, and store them safely.
Before diving into canning, though, it’s crucial to grasp the different methods available. You have water bath canning for high-acid foods and pressure canning for low-acid foods. This distinction is like the bread and butter of canning—it’s essential!
Once you have that down, you’ll want to gather your tools and ingredients. I can’t stress enough how important it is to have everything clean and ready. Having the best equipment is key—the right jars, lids, and a canner makes a huge difference.
Choosing the Right Ingredients
Fresh is Best
When it comes to canning, fresh ingredients can’t be beaten. I always make sure I harvest at the peak of ripeness. Those juicy tomatoes or sweet peaches you pick in the morning will taste way better than those that sat in a store for days.
Don’t shy away from local farmers’ markets either! Sometimes you can find incredible deals on bulk produce, and picking them right off the vine is just different, you know? Plus, you can chat with the growers about the best varieties for canning.
Lastly, make it a habit to take a close look at your produce. Wilting, bruising, or any signs of mold? Toss those out! Quality ingredients mean quality canned goods.
The Canning Process
Jarring It Up
Here comes the fun part—getting those ingredients into jars! Start by preparing your produce, whether it’s washing, peeling, or chopping. I like to make things fun, so I put on some music or podcast while I work.
Next, you’ll need to make your canning recipe. This could be a simple tomato sauce or a more complex jam. Follow a trusted recipe, measure ingredients carefully, and don’t forget the vital step of checking the pH level if you’re dealing with low-acid foods—trust me; safety first!
Once your mixture is ready, fill the jars, leaving the right amount of headspace. That’s the space between the food and the lid! Then, it’s time to seal those babies up tight for their hot bath or pressure cook.
Storage and Shelf Life
Storing Your Masterpieces
You’ve done all that work, so let’s talk storage! Once you’ve processed your jars, let them cool completely before finding a cozy spot for them. A cool, dark cupboard is the best, away from heat sources and sunlight. For real, you can’t just shove them anywhere!
Keep track of your canning dates—this may seem tedious, but it’s great for knowing when to use what. I like to label each jar with the contents and date. Being organized means I’m not guessing what I have come winter.
If you notice any jars that have started leaking or don’t seal properly, don’t be a hero; toss them out. It’s better to be safe than sorry when it comes to preserving food.
Enjoying Your Canned Goods
Creativity in the Kitchen
Now for the best part—enjoying your work! There’s something incredibly satisfying about cracking open a jar of your own homemade sauce or jam in the middle of winter. It brings summer back, if only for a moment.
I’ve discovered so many delicious ways to incorporate my canned goods into meals. From using pickled cucumbers in salads to adding homemade salsa to tacos, the options are endless! You can even gift jars to friends—everyone loves a personal touch.
And remember, don’t be afraid to experiment! Try different spice blends, or mix fruits and vegetables that you think would work well together. Your canned goods can become signature dishes with your unique twist!
Frequently Asked Questions
1. What equipment do I need for canning?
You’ll need a few basic supplies: canning jars with lids, a canner (either water bath or pressure canner depending on what you’re preserving), a jar lifter, and other tools like a funnel and bubble remover for better sealing.
2. How do I know if my jars sealed properly?
After cooling, check the lids—they should be concave and shouldn’t move when pressed. If the lid pops back, it didn’t seal properly, and you should refrigerate that jar and use it soon.
3. Can I use frozen fruits or vegetables for canning?
Absolutely! Just make sure to thaw and drain them before canning. It’s a great way to make sure you use produce you might have stored away a little too long.
4. How long can I store canned goods?
Generally, if stored properly, you can keep them for a year or even longer. However, for the best flavor and quality, use them within a year.
5. What common mistakes should I avoid?
One big mistake is not following trusted recipes—canning is a science, and you don’t want to mess with proportions or cooking times. Also, avoid using non-canning jars; they won’t withstand the pressure or heat!


