
Understanding Basic First Aid Principles
Know the Recovery Position
One of the first things I learned about first aid is the importance of the recovery position. If someone is unconscious but breathing, you want to ensure they don’t choke on their own tongue or any fluids. The recovery position keeps their airway open and allows for better breathing.
To position someone properly, first make sure they’re lying on their back, then gently roll them onto their side. Ensure that their head is tilted back slightly to keep the airway clear. It might feel a bit awkward at first, but with some practice, it becomes second nature.
Once they are secure, don’t forget to call for help while watching them closely. Keep the person warm and reassure them that help is on the way. It’s all about staying calm in a tense situation!
Assessing the Situation
When something goes down, it’s easy to get flustered. I recall a time when my buddy had a nasty cut. The first thing I learned is to assess the situation quickly and effectively. Look for immediate dangers—like sharp tools or angry animals—before jumping in to help.
Next, I always ask myself a few critical questions: Is the person awake? What’s wrong? Do I need to call for help? Remember, being observant can help prevent additional injuries.
Once I’ve observed the situation, I get down to assessing the injured person. Are they conscious? Are they breathing? What seems to be the problem? This information is vital, especially when making that next call for help.
Basic Wound Care
Wounds happen, especially in a homesteading life, so knowing how to care for them is key. My go-to approach starts with washing my hands well to avoid any infections. It’s easy to overlook this step in a rush, but trust me, it saves a ton of headaches later.
Once my hands are clean, I inspect the wound. If it’s bleeding, applying direct pressure with a clean cloth is a must. I’ve learned that it may take a minute or two, but keeping pressure can often stop a small bleed from becoming a big deal.
Finally, after the bleeding slows, I clean the wound gently and cover it with a sterile bandage. Keeping it covered helps prevent infection, which is something you definitely want to avoid when you are living off the land!
Dealing with Common Injuries
Cuts and Scrapes
Cuts and scrapes are an all-too-common occurrence around the homestead. I remember the first time I had to deal with a nasty scrap on my leg while tending to the garden. It’s crucial to stay calm and assess the wound as quickly as you can.
Once I’ve evaluated it, I clean the area with soap and water. After rinsing it off and drying it gently, I apply an antiseptic ointment to the cut before bandaging it. It’s amazing how something so small can become a big issue if not treated properly!
Keeping an eye on the wound in the following days is important. If I see any signs of infection—like redness, swelling, or pus—it’s time to get medical advice. It’s always better to be safe than sorry!
Burns
Having dealt with minor burns while cooking outdoors, I’ve developed a game plan. The first step is to cool the burn under running cool water for about ten minutes. Ice is a no-go because it can damage the skin further; cool water does the trick just fine.
After cooling it, I cover the burn with a sterile, non-adhesive bandage. I avoid using ointments or lotions unless it’s a specific burn cream recommended by a doctor. Like the saying goes, “Less is more” when it comes to burn care!
If there’s any sign of blistering or if it’s a more severe burn, I never hesitate to seek professional help. It’s a hard lesson learned, but healing is better than guessing my way through it.
Sprains and Strains
Moving heavy stuff around the homestead? Trust me, I’ve been there—sprains and strains are no joke! My go-to remedy is the R.I.C.E. method: Rest, Ice, Compression, and Elevation. After an injury, I don’t try to push through it; I take a break.
I apply ice to the area for about 20 minutes at a time to reduce swelling. Wrapping the affected area with a bandage provides support. Keep it elevated; it can make a world of difference in promoting healing.
As with all injuries, I like to reassess after a few days. If it’s not getting better, it’s time to see a pro. One thing I learned the hard way is that “toughing it out” can lead to more serious issues down the line.
Performing CPR and First Aid for Choking
Recognizing Cardiac Arrest
Even if you’re living on a homestead, knowing how to spot the signs of cardiac arrest can save a life. If someone suddenly collapses, isn’t breathing, or isn’t responding, those are your red flags. I remember the first time I had to jump into action; it felt surreal, but being aware of the signs is crucial.
Understanding the difference between a heart attack and cardiac arrest is also important. While a heart attack can happen while someone is awake, cardiac arrest will usually take someone out immediately. If someone isn’t responsive, the clock is ticking.
Make sure you’ve called for emergency help right away, even if it might feel like there’s no time for it. It’s better to call and have help on the way than to wait and worry!
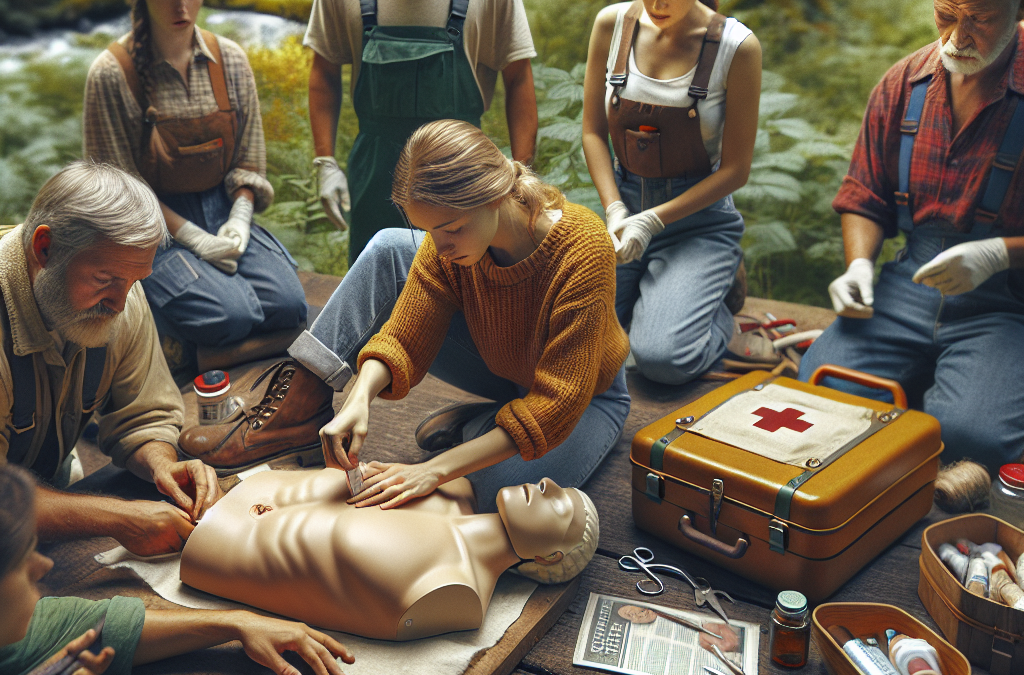
Performing CPR
For me, learning CPR was a must. The steps are simple, but in a high-stress situation, they can save lives. Start with chest compressions by placing your hands in the center of the person’s chest and pressing down hard and fast—aim for about 100 compressions a minute.
After 30 compressions, it’s time to give rescue breaths. It took me a bit of practice to get it right, but the technique is to seal your lips over theirs and blow two breaths into their mouth before resuming chest compressions.
Keep doing this until help arrives, or the person starts breathing again. It’s tiring work, but don’t lose hope; you could be their only chance!
First Aid for Choking
Choking is a heart-stopper, literally! Knowing the Heimlich maneuver can really come in handy, especially when you’re sharing meals with friends and family. Start by asking the person if they can cough or speak—if they can, they’re likely still breathing!
If they can’t make any noise and they look panicked, it’s time to act. For adults, stand behind them, wrap your arms around their waist, and place a fist above their navel. Push in and upward with quick thrusts; sometimes it takes a few tries!
For younger kids, you’ll use a different method—just support them over your knee and give them quick pats on the back. Keeping calm is key, and while it’s scary, trusting your instincts will help you get through it.
Recognizing When to Seek Professional Help
Signs of Severe Injury
Learning to recognize when to seek help is just as crucial as knowing how to handle basic first aid. Any injury that doesn’t stop bleeding, feels oozing or worsens over a couple of days needs professional eyes. I’ve been in those shoes, thinking, “It’s just a scrape,” when really, I should have gotten it checked out.
Another red flag is broken bones or any injuries that cause deformity or extreme pain. If the person cannot move an injured limb or if it looks out of place, it’s definitely time to seek help.
Also, don’t ignore any sign of a potential head injury. If someone’s had a bump, keeps getting dizzy, or seems confused, that’s an immediate reason to get them checked out. Listening to your instincts can really save the day!
Infections and Allergic Reactions
With all the dirt and critters on a homestead, infections can happen. If you notice increased redness, warmth, or swelling at the site of any wound, don’t hesitate to call a doctor. An infected cut is more than just a nuisance; it can become dangerous if left unchecked.
Similarly, recognizing allergic reactions is vital. If someone is having a hard time breathing or is breaking out in hives after something they’ve eaten or touched, you need to act fast. Calling for help is non-negotiable at that point; getting that person into medical care is crucial.
Once, I had a friend who just couldn’t shake off a fever after a small injury; turns out it was an infection that needed IV antibiotics! Don’t be shy about getting help—your health is worth it.
Conclusion on Seeking Medical Assistance
Ultimately, trusting your gut serves you well. Sometimes it’s better to play it safe and get someone checked out. We can manage a lot of injuries ourselves, but knowing when to reach out for professional help is absolutely part of being prepared as a homesteader.
Creating a community where we can lean on each other is super important, so don’t feel bad about getting advice or sharing experiences with fellow homesteaders.
In the end, it’s about being capable and not afraid of taking charge in tough situations. With the right knowledge, you can handle whatever comes your way!
FAQs about Essential First Aid Skills for Homesteaders
What should I include in my first aid kit?
Your first aid kit should have items like band-aids, antiseptic wipes, gauze, medical tape, scissors, tweezers, gloves, and pain relievers. Tailor it to your specific needs based on your homesteading activities!
How often should I refresh my first aid knowledge?
It’s great to review first aid skills at least once a year. Social classes can help, but going over the skills with family or friends regularly will keep everyone prepared and comfortable.
What is the best way to treat a burn at home?
For minor burns, cool the area under running water for 10 minutes. Afterwards, cover it with a sterile, non-adhesive bandage, and avoid ointments unless directed by a healthcare provider!
Is it necessary to learn CPR even if it’s rarely needed?
Absolutely! You never know when you’ll find yourself in a tough spot where someone needs immediate help. Knowing CPR can make the difference between life and death!
How can I make my home a safer environment to avoid first aid situations?
Keeping your area organized, tools securely put away, and ensuring you have good lighting while working can all help minimize accidents. Always be aware of your surroundings!


