
Choose the Right Location for Your Compost Bin
Consider Sunlight and Accessibility
Picking the right spot for your compost bin is crucial. I personally like to place mine in a sunny area since the heat helps speed up the composting process. But don’t forget about accessibility! You want a location that’s easy to reach when you’re adding scraps or turning the pile.
Also, think about how close it is to your kitchen. Keeping your compost bin near by makes it super convenient to toss in kitchen scraps. Trust me, you’ll be more likely to stick to your composting routine if you don’t have to trek across the yard each time you have banana peels or coffee grounds to add.
Finally, ensure that the area is well-drained yet sheltered from heavy rains, which can flood your compost and create a soggy mess. A nice, semi-shady spot can also keep the pile from drying out too much during those super hot summer days.
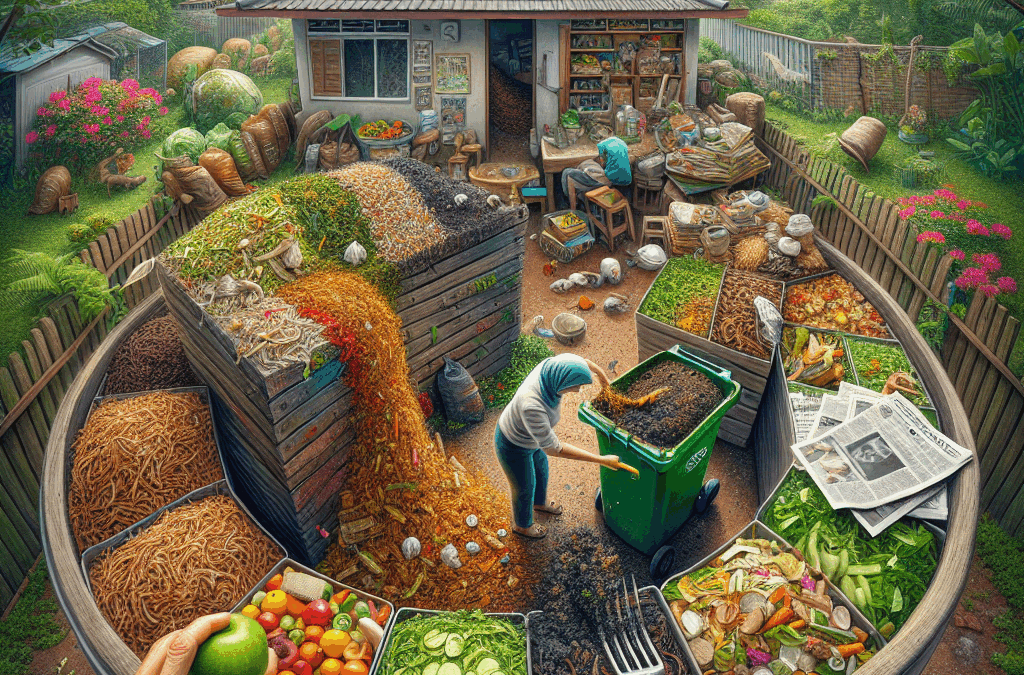
Choose the Right Type of Bin
There are a ton of styles of compost bins out there, and the choice can be overwhelming. Personally, I started with a simple homemade bin made from wooden pallets. It was easy to build, and I loved the rustic look it gave my garden.
If DIY isn’t your style, you might consider a tumbling composter. They’re pretty neat because you can turn them easily, which aerates the compost and helps it break down faster. It’s a bit like working out for your compost pile!
There are also some awesome stationary bins that come with built-in aeration. They look nice and can be great for larger gardens, but keep in mind they can be pricier than free pallets. My advice? Choose what fits your space, budget, and level of commitment.
Be Mindful of the Environment
Your composting routine should not only work for you but also for the environment. I always mix in a variety of materials to keep my compost balanced. It’s a whole ecosystem of healthy bacteria breaking down organic materials, after all.
Try to include a blend of “greens” like vegetable scraps and “browns” like dried leaves. Keeping this balance is key to preventing odors and pests. Trust me, I learned this the hard way when I put way too many coffee grounds in one batch!
Also, remember to avoid adding any meats or greasy scraps. Not only do they make your compost smell, but they can also attract unwanted critters. Keep it simple with fruits, veggies, eggshells, and lawn clippings for a happy compost pile.
Maintain Your Compost Pile Regularly
Turning the Pile
This is where the magic happens! Turning your compost pile enrages all those good microbes that are working hard to break things down. I try to turn my pile every few weeks, and you’d be surprised at how quickly you start to see the process happening.
When you turn the pile, give it a good mix to aerate it. Even when it starts to look like lovely, dark soil, keep mixing it around. You never know what could still be breaking down, and turning it helps encourage that chemical activity.
Plus, it’s a good workout! I mean, who doesn’t love a little exercise while doing something good for the planet? You can even ask a friend to help—a nice excuse to enjoy some time outdoors together.
Moisture Levels Matter
A well-maintained compost pile should be moist, but not soggy. It’s kind of like a wrung-out sponge—damp, but not dripping. I once learned this the hard way after a heavy rain turned my compost into a stinky sludge.
If it’s too dry, simply sprinkle it with water as you turn it. If it’s too wet, add more browns like shredded paper or dry leaves to absorb that excess moisture. Finding that happy medium makes all the difference!
If you’re unsure, give it a squeeze. If water drips out, you might want to mix in some dryer materials. It might feel a little weird at first, but you’ll get the hang of it in no time.
Monitor Temperature
The temperature of your compost pile can tell you a lot about how well it’s breaking down. Ideally, you want it to stay between 130°F and 160°F. This heat is what helps kill off pathogens and seeds that might want to mess with your plants later.
I usually use a compost thermometer to check the temperature; they’re surprisingly easy to use! If your bin is too cold, it might mean it’s lacking materials or moisture. If it’s too hot, try turning it more frequently and check for balance in your greens and browns.
Maintaining the right temperature not only speeds up the process but also creates a healthy compost that you can reuse directly in your garden. And let me tell you, nothing beats the feeling of nourishing your plants with your homemade compost.
Know When Your Compost is Ready
Physical Signs
One day, you’ll wake up and notice that your compost looks completely different from when you started. It should resemble dark, crumbly soil that has a pleasant earthy smell—absolutely nothing like rotting garbage. When you reach this point, you’ve struck gold!
Visually, you should no longer see recognizable bits of food or yard waste. If you spot banana peels or eggshells, they might need a bit more time. But generally, if it looks like rich, dark soil, you’re ready.
Another good sign is when the pile has settled significantly from its original height. A good decomposition process should reduce the volume of materials as they’re broken down. That’s when you know you’ve struck the composting jackpot!
Duration of the Process
How long does it take, you ask? Well, it can vary based on several factors like the materials you use, how often you turn it, and the environmental conditions. Typically, it can take anywhere from a few months to a year, so patience is key!
In my experience, the more I actively maintain it—by turning regularly, checking moisture levels, and ensuring the right balance—the faster it finishes. It’s like a little gardening bonus; the more you work at it, the better the reward!
Don’t rush it, though! Composting is a beautiful process that allows nature to do its thing. Just watch, and before you know it, you’ll have your own nutrient-rich compost to enrich your garden soil.
Using Your Finished Compost
Once you’re ready to use your compost, the options are endless! You can mix it into your garden beds to nourish your plants or use it as a top dressing around established plants. It’s like giving a nutrient-packed gift to your garden.
You can also create compost tea, which is a liquid fertilizer super rich in nutrients. Just steep your finished compost in water for a few days, and you have a diluted mix perfect for watering your plants!
Don’t forget that you can also share your compost with friends and family! It’s a fun way to spread the goodness. Plus, it gives you a chance to discuss composting and inspire others to start their own homesteading journey.
Frequently Asked Questions
What materials can I add to my compost bin?
You can add kitchen scraps like fruit and vegetable peels, coffee grounds, eggshells, and yard waste like grass clippings, leaves, and small branches. Just steer clear of meat, dairy, and oily foods!
How often should I turn my compost pile?
I recommend turning your compost pile every few weeks. This helps aerate it and accelerates the decomposition process. Just grab a pitchfork or shovel and mix it up!
What should I do if my compost smells bad?
The bad smell usually indicates that your compost is too wet or lacks aeration. Try adding more dry materials (browns) and turning the pile more frequently to let it breathe.
How can I speed up the composting process?
To speed things up, aim for a good balance of greens (nitrogen-rich materials) and browns (carbon-rich materials), keep it moist but not soggy, and regularly turn the pile to aerate it.
When is my compost ready to use?
Your compost is ready when it looks dark, crumbly, and has an earthy smell. You shouldn’t be able to recognize original materials, and it might take anywhere from a few months to a year depending on how well you maintain it.


