
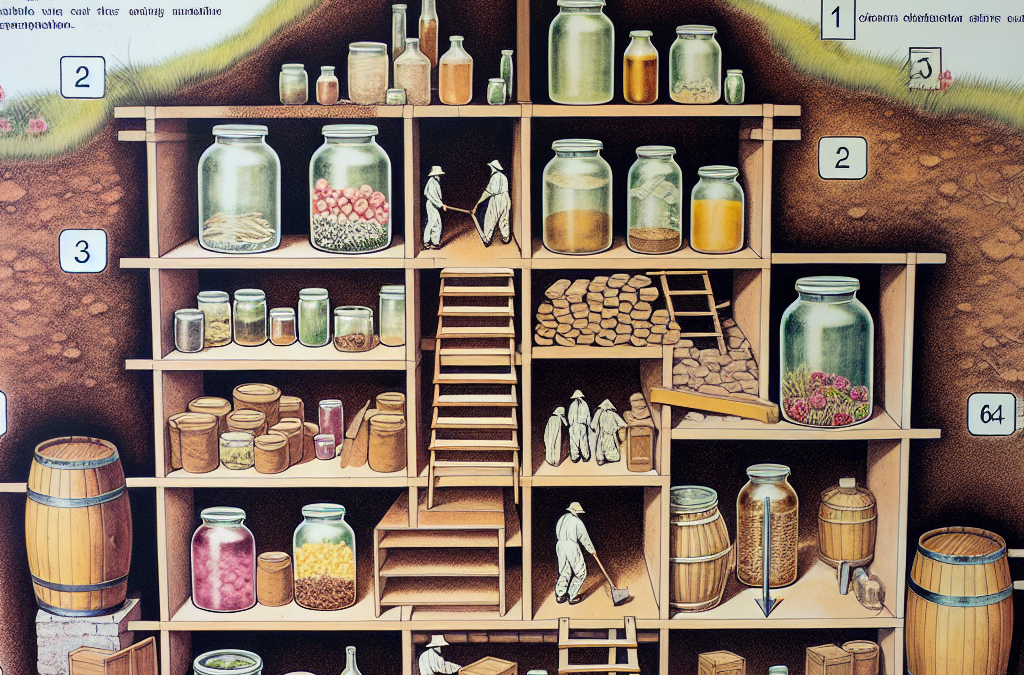
Hey there, fellow homesteaders! Today, I’m super excited to share my personal journey of building a fermentation cellar right here on my homestead. It’s not just about food preservation; it’s a lifestyle, a connection to our roots, and honestly, the kind of hobby that can turn into a passion. So, let’s dive into the nitty-gritty of how to set up your own little fermentation haven!
Choosing the Right Location
Finding the Perfect Spot
The first thing I learned about building my fermentation cellar is that location is everything. Ideally, you want a cool, dark place that maintains a consistent temperature. I found an unutilized corner in my basement, away from any heat sources like water heaters or furnaces. It made all the difference! Think about somewhere that stays below 70°F, especially in the warmer months.
Also, consider accessibility. You don’t want to trek across your yard every time you need more carrots for your kimchi. I recommend choosing a spot close to your kitchen or storage areas. It makes for a seamless workflow. Trust me, you’ll thank yourself on those busy days when you’re whipping up a new batch of sauerkraut!

Finally, ensure the spot doesn’t have too much moisture. We don’t want mold ruining our tasty creations. Make a quick assessment; if the area has any leaks or dampness, fix that first before setting up your cellar.
Ventilation Matters
Now, when it comes to a fermentation cellar, ventilation is crucial. In my experience, you need to ensure there’s good airflow to prevent any unwanted odors or stagnant air. A simple solution is to install a small vent or even use a fan to circulate the air if your space allows.
Don’t forget to think about how you’ll be organizing and storing your jars or crocks. A well-ventilated space keeps everything fresh and helps create ideal conditions for fermentation. If you notice signs of spoilage or off smells, it might be a sign that your ventilation needs adjusting.
Simple things like making sure your cellar has a couple of small windows (if it’s above ground) or small vents can work wonders. It’s a small detail that pays off big in the fermentation department.
Temperature Control Solutions
This was something I wish I had figured out early on. Maintaining a stable temperature is essential for fermentation to happen correctly. If you’re in a place with extreme temperature variations, you might need to get a little creative.
I used an inexpensive digital thermometer to keep an eye on the temperature in my cellar, and if it started to creep up too high or drop too low, I adjusted the ventilation or added insulation where needed. There are also handy temperature-controlled boxes you can install if you want to get really fancy.
For me, keeping it simple was best. By creating an insulated natural cave-like environment, I manage to keep most of my ferments happy without too much fuss. Just ensure that whatever methods you choose allow for that consistent cool temperature – your future ferments will love you for it!
Gathering Necessary Materials
Getting the Right Containers
Let’s talk containers, shall we? When I started my fermentation journey, I quickly realized that having the right tools was key. Glass jars, food-grade plastic buckets, or fermenting crocks are fantastic options. I personally use a mix of them depending on the batch size and type of ferment I’m doing.
It’s so important to use food-safe materials. I made the mistake of using a non-food-grade plastic once, and let me tell you, it did not end well. So, double-check everything you buy, especially if it’s secondhand! Your health and the taste of your ferments depend on it.
Also, don’t forget about lids. If you’re going the glass jar route, consider investing in some proper fermentation lids. They can help control gas and pressure during the fermentation process. I recommend getting a few reusable airlocks if you really want to crank up your fermentation game.
Stocking Up on Ingredients
Next on my list was gathering ingredients. Fermentation is all about getting the right combination of veggies, spices, and some good bacteria! For pickling, fresh cucumbers, cabbage, or radishes work great. Make sure to source local and organic varieties whenever you can; they really kick up the flavor and health benefits!
If you’re planning to dive into lacto-fermentation, don’t forget your salt! I’ve found that sea salt works best as it doesn’t contain any additives. The right proportions can make the difference between a boring ferment and a zesty delight.
While I was at it, I figured I’d stock up on herbs and spices too. Imagine dill, garlic, or chili flakes enhancing your sauerkraut! It’s like a treasure hunt finding unique ingredients that really complement or elevate your dishes once fermented. Keep your creativity flowing; there are worlds of flavors to explore.
Investing in Basic Tools
Lastly, don’t overlook the small tools that can make a huge difference. A good vegetable peeler, a set of sharp knives, and a sturdy cutting board are essentials. I also recommend getting a fermentation weight; it helps keep your food submerged in brine, which is key to preventing spoilage during the process!
One tool that has become my best friend is a mandoline slicer. You can quickly prep veggies for all sorts of ferments, and it saves a ton of time compared to hand slicing. Just remember to practice some safety because those blades can be sharp!
Don’t forget about cleaning supplies; a clean environment is crucial to successful fermentation. I use vinegar and baking soda for most cleanups – they work great and are safe for my ferments!
Implementing and Maintaining Your Fermentation Process
Fermentation Techniques
This part is where the magic happens! Each type of ferment has its own technique, but the basics are often similar. I usually start with prepping my veggies by washing and slicing them appropriately. With sauerkraut, for instance, I finely chop the cabbage, sprinkle it with salt, and start massaging it until it begins to break down and release its juices.
Once you have the veggies ready and packed into your containers, it’s time to weight them down. I typically use a clean jar filled with water to keep everything submerged. This ensures that they ferment correctly and prevents any unpleasant mold.
Be sure to experiment and adjust based on taste and texture. I’ve gotten my best results by tasting as I go! Many ferments benefit greatly from a little trial and error, so don’t be afraid to try different methods until you find the one that suits your taste buds.
Monitoring and Adjusting
Now, here’s where it can get a little tricky but in the best way. I found it necessary to check on my ferments regularly to see how they progress. This means looking for signs of bubbling, checking the smell, and occasionally tasting a sample. Understanding how long each ferment typically takes is helpful, but remember that environmental factors can also influence the process.
If you notice too much bubbling or an unusual smell, it might be worth adjusting the ventilation or temperature. Learning what works best for your cellar’s microclimate is all part of the fun. After all, every batch is an adventure!
Sometimes, you’ll need to switch things up. If something isn’t fermenting as expected, you can add a bit more salt, maintain temperature, or even introduce a bit of juice from a previous batch to kickstart the bacterial action.
Enjoying and Sharing Your Ferments
Lastly, the payoff for all this hard work is getting to enjoy your delicious fermented goodies! Once your ferments reach the perfect flavor, it’s time to store them properly. I usually move them to the fridge to slow down the fermentation process.
Sharing your creations is half the fun! Because who doesn’t love to surprise friends and family with homemade sauerkraut or hot sauce? Even more, it can spark conversations about health, sustainability, and creativity. Plus, who knows? You might just inspire someone else to dive into the world of fermentation!
So, take a moment to appreciate your hard work, snap a few photos, and most importantly, dig into those delicious snacks you’ve made. It’s not just food; it’s your own little piece of art made with love.
FAQs
1. What is needed for a fermentation cellar?
To set up your fermentation cellar, you’ll need a cool, dark location with good ventilation, suitable containers, basic tools, and fresh, quality ingredients. A thermometer to monitor the temperature is also highly recommended!
2. How do I maintain the temperature in my fermentation cellar?
You can maintain a stable temperature by insulating your cellar, ensuring proper ventilation, and monitoring it with a thermometer. If needed, you might consider options like small fans or temperature-controlled boxes to keep things steady.
3. How long does fermentation usually take?
Fermentation duration can vary greatly depending on what you’re making. Generally, vegetables can take anywhere from a few days to several weeks. Taste-testing along the way helps you catch them at their best!
4. Can I mix different types of vegetables in one ferment?
Absolutely! Mixing different vegetables can create unique flavors and textures. Just make sure they have similar fermentation times and follow proper guidelines to ensure they ferment well together.
5. What do I do if my ferment smells bad?
A bad smell can be a sign of spoilage or unwanted bacteria. First, examine your setup for any issues with ventilation or moisture. If there’s no visible mold or a good reason for concern, taste a small amount; it could still be fine to eat, but if unsure, it’s best to discard it for safety!


