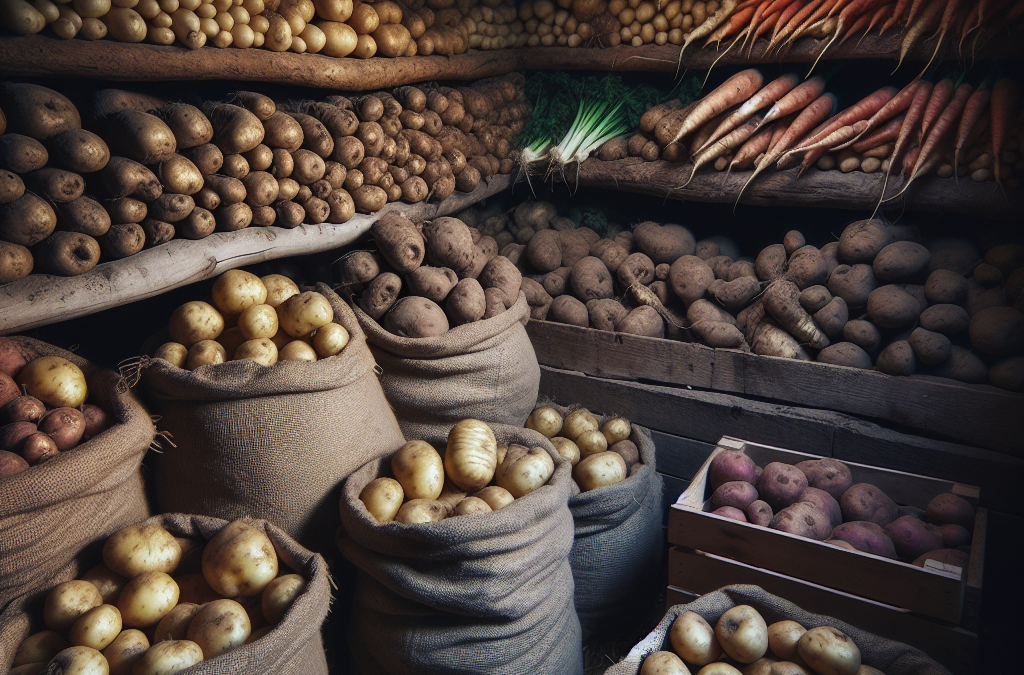
Selecting the Right Location for Your Root Cellar
Consider Temperature and Humidity
When I first decided to build a root cellar, the first thing I realized was that location is everything. Root vegetables like carrots and potatoes need a cool place to stay fresh, ideally between 32°F and 40°F. So, I scouted my property for spots that are naturally cooler. It’s amazing how even small changes in elevation can affect temperature.
Humidity is just as crucial; it needs to be high enough to keep the veggies from drying out, but not so high that mold starts creeping in. After some trial and error, I found that spots near large trees or even a hillside provided the right conditions.
Another consideration is accessibility. I wanted my root cellar close enough that I could pop in and grab veggies during the winter without too much trouble. So, take your time to walk your property and find that sweet spot!
Building Your Root Cellar Structure
Materials I Used
Once I decided on a location, it was time to build. I used a mix of salvaged materials and some new ones. Cinder blocks were a lifesaver; they provided good insulation and sturdiness. I also incorporated wooden pallets for ventilation. They’re durable and easy to work with, plus they add a rustic touch!
I remember wrangling heavy sheets of plywood for the roof. It was hard work, but I got into a groove. It’s kind of therapeutic to create something from scratch with your own hands, you know? I also added a small door; my goal was to keep the cellar safe from critters but still accessible for me.
One tip I would share is to make sure to build it away from direct sunlight. Sun can completely ruin your carefully stored roots before you even have a chance to enjoy them!
Preparing Vegetables for Storage
Harvesting at the Right Time
Timing your harvest is critical. I prefer to wait until after the first frost since it helps sweeten root vegetables like beets and carrots. They just taste better! I try to keep an eye on the forecast and get them in before any hard freezes hit.
Once I start digging them up, I handle them gently. Bruises can lead to rot, and no one wants to discover a mushy potato after months of storage! Each vegetable needs its own little love, which often involves brushing off soil but avoiding washing them first.
After harvesting, I lay them out for a few hours to cure. This helps to toughen their skins, creating a nice protective barrier for winter storage. It’s like they’re gearing up for their long hibernation.
Organizing Inside the Root Cellar
Utilizing Shelving and Bins
Organization can make or break the usability of your root cellar. I quickly discovered that I needed sturdy shelves. I built them using reclaimed wood with enough space between the shelves to allow for airflow. I love knowing that I’m repurposing materials while creating a functional space!
In addition to shelves, I used sturdy bins for items like onions and garlic. These are best stored separately due to their strong odors. It really is all about maximizing space and ensuring each vegetable type is stored under the right conditions.
Labeling is also a lifesaver. I started using chalkboard paint to mark bins, which you can wipe clean and reuse. It helps me keep track of what I have on hand and reduces waste by preventing forgotten veggies at the back of the cellar. Trust me, it’s easy to lose track if you’re not careful!
Maintenance and Monitoring
Regular Checks
Once my root cellar was up and running, I realized that maintenance isn’t a set-it-and-forget-it situation. I make it a point to check on my stash at least once a month. This allows me to spot any spoiled veggies early, rather than finding a potato graveyard in the corner of the cellar!
I also keep an eye on humidity levels. If it gets too dry, I mist a corner with some water to give everything a moisture boost. Conversely, if it’s humid, I’ll crack the door open for a bit to let some air circulate. It’s a balancing act, but a rewarding one.
Lastly, I jot down notes about what worked and what didn’t each season. This reflection helps me tweak my methods for the next winter. After all, every year will present its own mini-lessons!
FAQs
1. What vegetables store best in a root cellar?
Root cellar favorites include potatoes, carrots, onions, garlic, and beets. They thrive in cooler temperatures and high humidity, making them perfect for this kind of storage.
2. How do I control humidity in my root cellar?
To control humidity, you can add a shallow pan of water or use misting techniques if it’s too dry. Conversely, if it’s too humid, opening the door for a bit can help let some air circulate.
3. How long can I store vegetables in a root cellar?
Many root vegetables can last several months, sometimes even up to a year, depending on the type and the conditions of your root cellar.
4. Is it necessary to wash vegetables before storing them?
Nope! In fact, it’s best to avoid washing them before storage, as moisture can promote rot. Just brush off the dirt gently.
5. Can I store fruits in the same space as veggies?
It’s not advisable because fruits emit ethylene gas which can cause vegetables to spoil faster. It’s better to keep them separated to maximize freshness.


