
Choosing the Right Produce
Seasonal Sensations
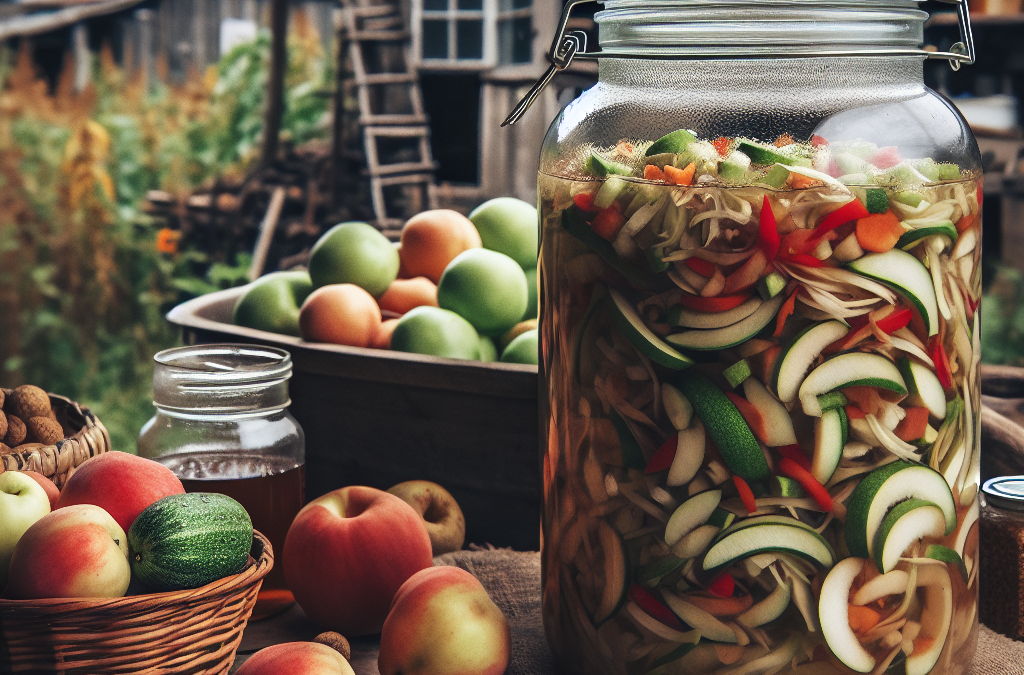
When I first delved into the world of vinegar-making, I quickly learned that the key to crafting delicious vinegar lies in the produce you choose. Seasonal fruits and vegetables are bursting with flavors at their peak ripeness, making them perfect candidates for vinegar. Imagine the taste of fresh apples, or vibrant strawberries – they can give your vinegar a unique twist!
Consider what you have on hand or what you can grow throughout the year. Using homestead-grown produce means you have a direct connection to the ingredients and can pick them fresh right from your garden. Not only does it enhance flavor, but it’s also a great way to utilize any surplus harvest.
Also, look for produce that may be slightly overripe or bruised. You might think they’re not good for eating, but they lend themselves beautifully to vinegar-making without going to waste. It’s all about being resourceful and creative!
Fermentation Basics
Understanding the Process
Now, let’s talk about fermentation. This is where the magic happens! The process involves converting sugars into acids, and that’s essential for making vinegar. It might sound a bit scientific, but trust me, it can be pretty simple and tons of fun!
When you prepare your fruits or vegetables, the natural yeasts present on their skins help kick off this process. As they break down the sugars, the result is that tangy, savory flavor that we all love. Building patience here is key; fermentation isn’t an instant process, but it’s worth the wait!
Make sure you’re working with clean, sterile equipment. This not only helps the fermentation process proceed smoothly but also prevents any unwanted bacteria from crashing the party. A clean space in your kitchen will make your experiments that much easier and more enjoyable.
Creating the Vinegar Base
Mixing It Up Right
Once you’ve got your produce ready and you understand the fermentation process, it’s time to mix things up! I personally love making a good fruit mash or juice as my base. You can choose to crush or juice your fruits to extract their sweet goodness. In my experience, a good blend can significantly enhance the depth of flavor.
As you prepare your base, remember to include some non-chlorinated water if you’re adding liquid. Chlorine can inhibit the fermentation process, and nobody wants that! A little sugar can help kickstart the fermentation process, especially if you’re using less sweet fruits or veggies.
I often add a splash of store-bought vinegar as a starter. It contains the necessary bacteria (acetic acid bacteria) that will help transform your mixture into vinegar. It’s almost like giving your homemade version a little nudge in the right direction!
Monitoring the Fermentation Process
Tending to Your Vinegar
This part is super crucial. Monitoring your fermentation is like watching a pot boil – you’ve got to keep an eye on it but not be too obsessive! For me, this is an exciting time as you start to see bubbles forming and the mixture transforming over days.
I typically taste my mixture every few days to check on the flavor. Depending on the temperature and the ingredients, fermentation can take anywhere from a week to several weeks. Patience is your best friend here!
The environment plays a big role too. A dark, warm spot usually yields the best results. Just remember to cover your jar with a breathable cloth to keep pesky bugs out but still allow air circulation. I learned the hard way that not covering it can lead to some unwanted surprises.
Final Touches and Bottling
Perfecting Your Creation
Once you’ve hit the sweet spot with the flavor and acidity level, it’s time to strain and bottle your vinegar. Use a fine mesh strainer or cheesecloth to remove any floating bits from the liquid. This part feels super rewarding because you finally get to see all the hard work you’ve put in!
When it comes to bottling, I love using glass containers. They are easy to clean, look pretty, and don’t react with the vinegar. Make sure to label your jars with the date and type of fruit or vegetable you used. Trust me, you’ll want to remember what you did for future batches!
Store your finished vinegar in a cool and dark place. It can last for years if sealed properly. I’ve had some delightful surprises with older batches that have become more complex over time. Each bottle tells a story, and I can’t wait for you to start yours!
FAQ
1. Can I use any type of fruit or vegetable for vinegar?
Definitely! You can use a wide range of fruits and vegetables. Just ensure they have enough sugars to convert during the fermentation process. Think apples, pears, peaches, and even herbs can make great flavored vinegars.
2. How long does it take to make vinegar?
It can take anywhere from one week to several weeks, depending on various factors such as temperature and the type of produce used. Be sure to taste along the way to find your preferred flavor!
3. What should I do if my vinegar smells off?
Trust your nose! If it smells moldy or comes with a funky odor, it may need to be discarded. Proper sanitation is key, so always ensure your equipment is clean to avoid any issues.
4. How do I store my homemade vinegar?
Store your vinegar in a cool, dark place in a glass bottle. Ensure it’s tightly sealed, and it can last for years. Just don’t forget to label your creations!
5. Can I add spices or herbs while making vinegar?
You bet! Once you’ve got your base ready, feel free to add herbs, spices, or even additional fruit for unique flavors. Experiment and have fun with it!


