How Do I Prepare the Soil for Spring Planting on My Homestead?
 It’s that time of year when we start thinking about our garden. After a long winter, Homesteaders everywhere are anxiously awaiting the arrival of Spring so they can get their hands dirty and start planting. Preparing the soil for spring planting is a critical step in ensuring your homesteading garden is off to a successful start.
There are several things you can do to get your soil ready for planting. Here are a few tips:
- Add compost or worm castings. Compost and worm castings add nutrients and organic matter to the soil, which help improve soil structure and water retention.
- Incorporate a soil amendment such as peat moss or vermiculite. Soil amendments help improve soil drainage and aeration.
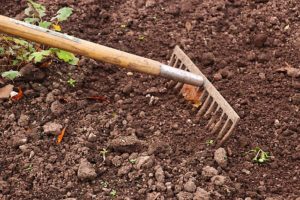
- Till the soil to break up any clumps and to incorporate amendments.
- Test the soil pH and amend as needed. Most vegetables prefer a soil pH of 6.5-7.0, but you can find specific recommendations for your region online.
- Add organic matter to the soil to help improve water retention and soil health. This can be done by composting leaves, grass clippings, or other organic materials.
What Composting Method is Good?
 There are many different methods of composting, but one of the most efficient and least labor-intensive is vermicomposting. This is the process of using worms to break down organic matter into a nutrient-rich compost.
The first step is to set up your worm farm. This can be as simple as a plastic bin with a few holes drilled in the bottom for drainage, or you can buy a more elaborate system. The worms will need a dark, moist environment with plenty of food and air.
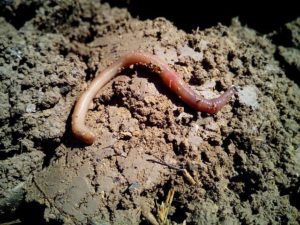
Next, you need to get some worms. Red wigglers, Eisenia fetida, are the best choice for vermicomposting, as they are efficient decomposers and can tolerate a wide range of conditions. You can buy them online or from a local gardening store.
Once you have your worms, it’s time to start feeding them. The best food for worms is a mixture of green and brown organic matter. You can either feed them kitchen scraps or create a compost pile specifically for the worms.
The worms will eat the organic matter and produce a nutrient-rich compost called worm castings. This can be used to fertilize your garden or added to your soil to improve its quality.
What are worm castings?
 Worm castings, also called vermicompost, are the nutrient-rich, dark-colored end-product of the composting process that occurs when worms eat organic material and excrete a soil-like substance.
What makes worm castings so good for the soil?
Some of the benefits of using worm castings in soil include:
- Increased water retention
- Higher nutrient levels
- Improved root growth
- Reduced soil erosion
- Increased resistance to disease and pests
How can I use worm castings in my garden?
There are a few ways to use worm castings in your garden:
- Mix them into the top layer of soil before planting.
- Sprinkle them around the base of plants.
- Mix them with water and use as a fertilizer spray.
- Add them to compost piles to help speed up the composting process.
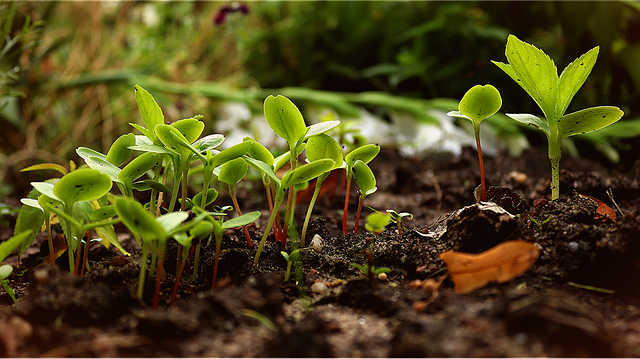
Once the soil is prepared with good composting and the weather is right, it’s time to start planting! With a little bit of preparation, your garden will be off to a great start this spring. Your garden will thrive and produce.


