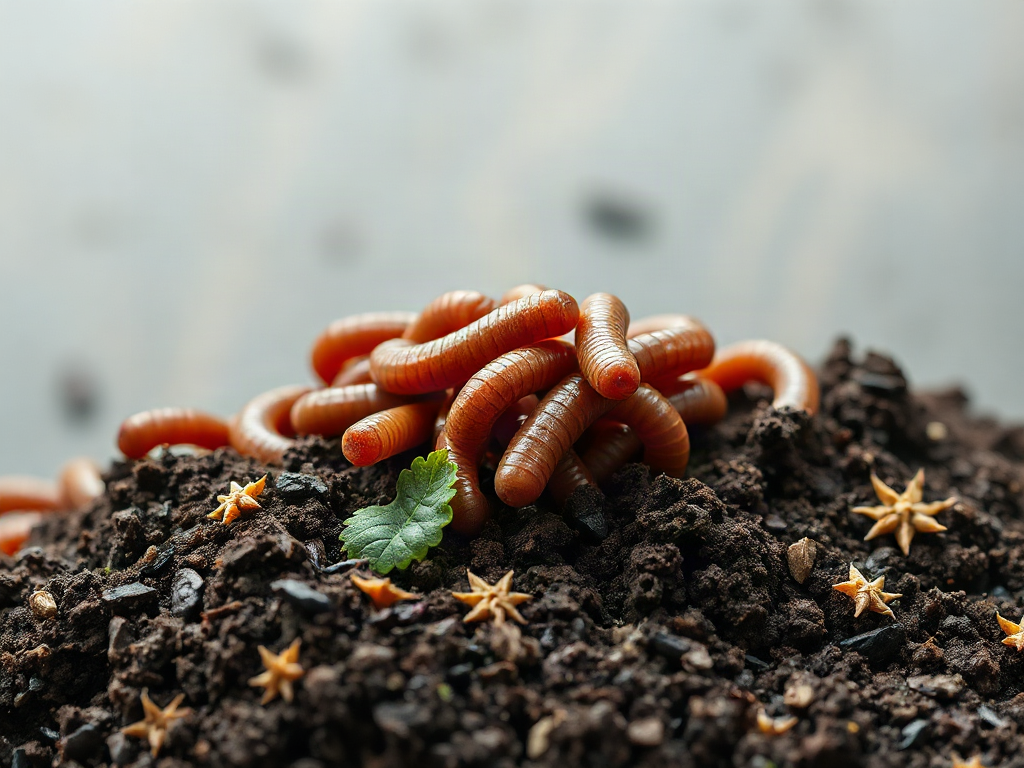
Worm farming for beginners can improve garden fertility by converting suitable kitchen scraps and bedding into biologically active castings, but success depends on steady moisture, airflow, moderate temperatures, and restrained feeding. Start with a ventilated bin, damp shredded cardboard, and composting worms such as red wigglers rather than ordinary garden earthworms. Bury small portions of food beneath the bedding and wait until most of each feeding disappears before adding more. A healthy bin smells earthy and contains loose, moist material; sour odors, escaping worms, flies, or soggy bedding indicate that feeding, drainage, or ventilation needs correction before castings are harvested.
What you’ll learn
This guide covers the following practical points:
- How Does a Worm Bin Build Garden Fertility? — A worm bin is a small decomposition system rather than a miniature soil bed.
- How Should a Beginner Set Up a Worm Bin? — A beginner bin needs breathable bedding, darkness, drainage control, and enough surface area for feeding.
- What Should You Feed Worms, and How Much? — Feed according to processing speed, not a rigid household schedule.
- How to Harvest and Use Worm Castings — Harvest when much of the bin has become dark and granular and recognizable bedding is scarce.
How Does a Worm Bin Build Garden Fertility?
A worm bin is a small decomposition system rather than a miniature soil bed. Composting worms consume softened organic residues and the microorganisms growing on them. The resulting castings are fine, stable-looking material that can be blended into garden soil or potting mixes. Bedding and partly decomposed food also break down in the bin, so harvested vermicompost usually contains more than worm castings alone.
The main garden value comes from adding decomposed organic matter in a concentrated, easy-to-handle form. That material can improve the way soil holds moisture while still leaving spaces for air, particularly when it is mixed into depleted beds or container media. Castings also return plant nutrients contained in the original feedstock. Their exact nutrient content varies, however, because a bin fed mostly cardboard and vegetable trimmings will not produce the same material as one receiving a broader mixture.
Worm castings should therefore be treated as a soil amendment, not as a complete fertilizer with a guaranteed analysis. A gardener may see better texture, more even moisture, or steadier plant growth after using them, but castings cannot correct every limitation. Severely compacted ground still needs physical improvement, an incorrect soil pH may require separate attention, and heavy-feeding crops may need additional fertility based on soil conditions. Assuming that a handful of castings replaces all other soil management is a common beginner mistake.
The system works best when its two purposes remain connected: managing a modest stream of suitable household material and producing an amendment for specific garden uses. For example, a small bin may supply enough castings for transplant holes, seed-starting blends, and several containers without generating enough for an entire vegetable plot. That is still worthwhile because small, targeted applications place the material close to developing roots.
Finished castings are dark, crumbly, and earthy-smelling, with few recognizable food pieces. Material that is slimy, sharply sour, or full of fresh scraps is not ready for garden use. Return unfinished material to active bedding instead of spreading it around tender plants. This distinction keeps active decomposition inside the bin and makes the finished amendment easier to mix evenly into soil.
How Should a Beginner Set Up a Worm Bin?
A beginner bin needs breathable bedding, darkness, drainage control, and enough surface area for feeding. A shallow plastic tote with a loose-fitting or ventilated lid is often easier to manage than a deep, airtight container. Small ventilation openings should admit air without leaving large gaps for pests. Keep the tote indoors, in a sheltered utility area, or in another location protected from direct sun, freezing conditions, and intense heat.
Use composting worms suited to dense organic bedding. Red wigglers are commonly chosen because they live and feed near the surface of decomposing material. Earthworms collected from ordinary garden soil occupy a different habitat and often perform poorly in a contained food-waste system. Buying or obtaining a modest starter population of composting worms is more reliable than filling the bin with whatever worms appear after rain.
Shredded corrugated cardboard, plain paper, or a mixture of the two makes practical bedding. Moisten it thoroughly, then squeeze out excess water. The bedding should feel like a wrung-out sponge: evenly damp but not dripping. Fluffing the material creates air pockets and gives the worms room to move. Add a handful of mature compost or garden soil if desired, but do not fill the container with dense soil; the worms need moist organic bedding more than mineral earth.
A simple setup sequence keeps early problems manageable:
- Prepare the container: Provide ventilation and place the bin where temperatures remain moderate.
- Add damp bedding: Fill much of the bin loosely rather than pressing the material down.
- Introduce the worms: Set them on the bedding and allow them to move away from light.
- Offer a small first meal: Bury a limited amount under several inches of bedding.
- Observe before expanding: Check moisture, odor, and food disappearance over the following days.
Starting with less food is safer than loading the bin to its apparent capacity. A new system has a smaller active microbial community and may process scraps slowly. If food accumulates before the worms settle in, it can ferment, compact the bedding, attract flies, and create oxygen-poor pockets. Add more bedding whenever the surface becomes wet or exposed food is visible.
Do not install a drain and assume that liquid production is desirable. A well-balanced bin should retain moisture in its bedding without continuously releasing leachate. Fluid pooling at the bottom usually signals excess water, excessive wet food, or compacted material. Mix in dry shredded cardboard and improve airflow rather than routinely pouring the liquid onto plants; bin drainage may contain substances from incompletely processed scraps and is not the same as deliberately prepared vermicompost extract.
What Should You Feed Worms, and How Much?
Feed according to processing speed, not a rigid household schedule. Bury a small portion in one area, cover it completely, and inspect that spot before adding a comparable amount elsewhere. When recognizable scraps are largely gone and the bedding still smells earthy, another feeding is reasonable. If yesterday’s material remains intact beside older food, stop feeding temporarily and correct the bin conditions.
Suitable inputs include vegetable peelings, fruit scraps in moderate quantities, coffee grounds, tea leaves removed from noncompostable bags, crushed eggshells, and small amounts of plain cooked grains. Chopping or freezing and thawing tough pieces increases exposed surface area, allowing microorganisms to colonize them more quickly. The worms mainly graze this softened, microbe-rich material rather than biting through a fresh carrot end immediately.
Avoid meat, fish, dairy products, oily foods, and heavily seasoned leftovers in a basic household bin. These materials are more likely to create odors or attract pests before a small worm population can process them. Large amounts of citrus, onion, or any single acidic, wet ingredient can also upset conditions. A little variety is easier to manage than a thick layer of one food. Yard trimmings treated with persistent chemicals and pet feces do not belong in castings intended for an edible garden.
| Bin signal | Likely condition | Practical response |
|---|---|---|
| Earthy smell and loose bedding | Moisture and airflow are balanced | Continue small, buried feedings |
| Sour or rotten odor | Too much food or too little oxygen | Remove obvious excess and mix in dry bedding |
| Water pooling at the bottom | Wet inputs exceed the bedding’s capacity | Add shredded cardboard and pause watery foods |
| Worms gathering on the lid | Conditions may be hot, acidic, saturated, or disturbed | Check temperature, moisture, odor, and recent inputs |
| Many small flies | Food is exposed or feeding is excessive | Bury scraps deeper and maintain a bedding cap |
Moisture deserves more attention than a calendar. Fruit-heavy feedings release water, while dry rooms and loose lids can dehydrate the upper bedding. Test several spots by hand. If material drips when squeezed, add dry bedding; if it feels crisp and worms cluster in the only damp corner, mist and gently mix the bedding. Constant stirring is unnecessary and disruptive, but occasional loosening can restore air to compacted zones.
Escaping worms are a warning to investigate, not proof that the lid needs to be sealed tightly. Check for heat, flooding, fermentation, or a recent large addition of acidic food. Newly introduced worms may wander briefly, but persistent migration points to unsuitable habitat. Fixing the environment is more effective than trapping the animals in an airtight container.
How to Harvest and Use Worm Castings
Harvest when much of the bin has become dark and granular and recognizable bedding is scarce. The goal is to separate most worms and unfinished pieces without chasing every cocoon or juvenile. Waiting for perfectly uniform material can leave the worms with too little fresh bedding, while harvesting too early produces a bulky mixture that continues decomposing in storage.
The side-feeding method is manageable for a small homestead bin. Move finished-looking material to one half, place fresh damp bedding and food on the other half, and leave the bin undisturbed while worms migrate toward the new feeding zone. Remove the older material in stages, returning obvious worms and food pieces to the active side. This method takes patience but causes less disturbance than dumping the whole system onto a sorting surface.
Light separation is faster when a bin must be reset. Form small mounds of material beneath a bright light. Worms move downward, allowing the upper layer to be brushed away repeatedly. It requires hands-on sorting and can dry exposed worms, so work in short rounds and keep the recovered animals in moist bedding. Screening may create a tidy product, but fine screens can trap damp castings and separate cocoons unnecessarily; screening is optional for home garden use.
Apply castings where their limited volume has the most value. Blend a modest portion into potting media rather than growing plants in pure castings. Add a small amount to transplant holes and mix it with surrounding soil so roots encounter a gradual transition. Castings can also be scratched lightly into the surface around established plants, then watered. In seed-starting mixes, restraint matters because dense, moisture-retentive material can reduce aeration if it replaces too much of the lighter base mix.
A practical comparison is to view ordinary compost as the bulk amendment and worm castings as the targeted amendment. Finished hot or cold compost is generally more realistic for covering beds and increasing soil organic matter at scale. Castings are better reserved for seedlings, containers, transplants, and plants showing a need for improved root-zone conditions. Using both avoids the expensive or labor-intensive expectation that worms must supply every cubic foot of garden amendment.
Store harvested material slightly moist in a breathable container away from sun and extreme temperatures. Sealing saturated castings in an airtight bucket can encourage unpleasant anaerobic conditions, while leaving them exposed until bone-dry reduces their workable texture. Use the material within a reasonable gardening cycle rather than accumulating it indefinitely. Keep notes on where it was applied and compare plant growth, soil moisture, and texture with an untreated area; observation is more informative than assuming every bed needs the same amount.
Frequently Asked Questions
Do worm bins smell bad?
A balanced worm bin should smell like damp soil. Rotten or sour odors usually indicate excess food, saturated bedding, compaction, or exposed scraps. Pause feeding, remove obvious problem material, and mix in dry shredded cardboard.
Can ordinary garden earthworms live in a worm bin?
Garden earthworms are adapted to soil habitats and are generally poor substitutes for surface-dwelling composting worms. Red wigglers are the more dependable choice for processing scraps in shallow organic bedding.
How often should a worm bin be fed?
Feed when most of the previous portion has broken down rather than following a fixed timetable. Processing speed changes with worm population, temperature, moisture, food type, and particle size.
Are worm castings safe to use directly around plants?
Finished, earthy-smelling castings can be mixed into soil or applied lightly around established plants. Avoid placing sour, slimy, or visibly unfinished bin contents against seedlings or roots.
Why are worms trying to leave the bin?
Persistent escape behavior can signal excessive heat, waterlogged bedding, fermentation, acidity, or another abrupt change. Inspect moisture, odor, temperature, and recent feedings before adding more food.
Conclusion
A useful worm bin is built around habitat quality rather than maximum scrap disposal. Begin with composting worms, loose damp bedding, moderate conditions, and a deliberately small feeding area. Let food disappearance, odor, and bedding texture determine the next adjustment instead of relying on a fixed schedule.
Reserve harvested castings for places where a small volume can influence the root zone: transplant holes, containers, seedling blends, and selected established plants. Continue using ordinary compost for broad bed improvement, and address pH, compaction, or major nutrient shortages separately when needed. The best next step is to assemble a modest bin, record each feeding, and inspect it before adding more. Those observations will establish its real processing capacity and prevent the overfeeding and excess moisture that derail most new systems.
Additional Resources
Authoritative Sources
- Worms Can Recycle Your Garbage
content.ces.ncsu.eduNC State Extension guidance on worm bin setup, bedding, feeding, troubleshooting, and harvesting worm castings.