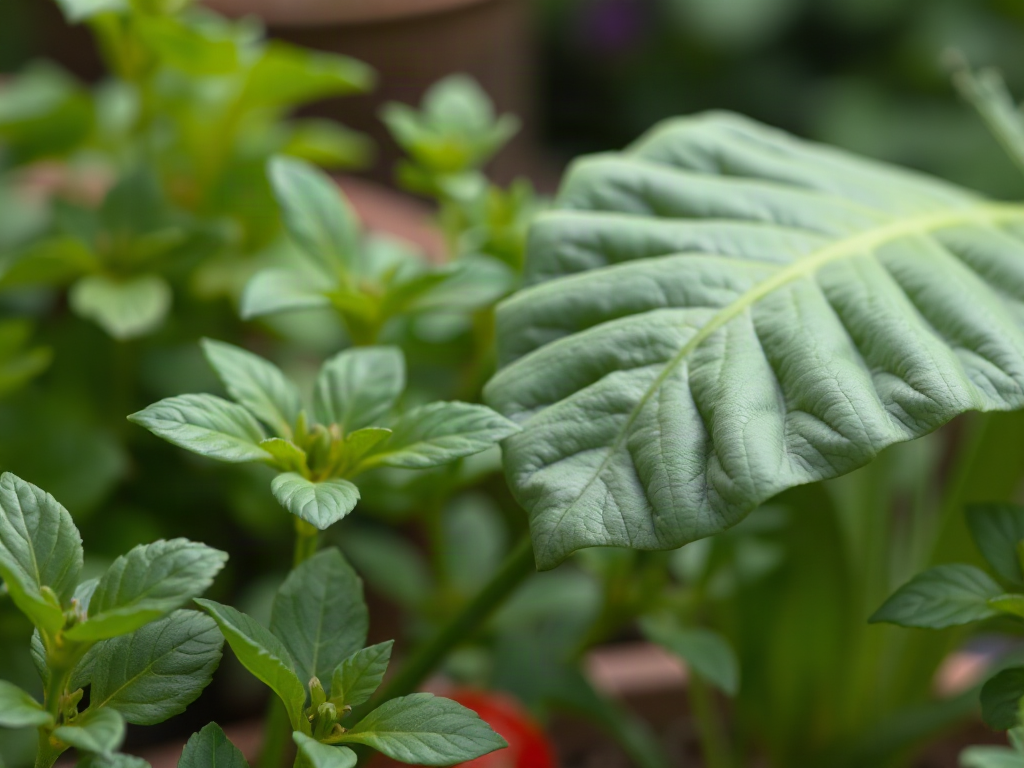
Florida vegetable gardening in warm climates works best when crops are matched to the state’s reversed seasonal rhythm: cool-season vegetables from fall through early spring and heat-tolerant crops during warmer months. Planting dates should reflect whether the garden is in North, Central, or South Florida, because frost exposure and summer heat differ substantially. Well-drained soil, organic matter, mulch, and consistent root-zone moisture help manage sandy ground and rapid evaporation. Gardeners should also monitor insects and fungal symptoms frequently rather than waiting for severe damage.
How Do Florida Seasons Change Planting Dates?
Florida’s useful vegetable season often runs opposite to the calendar familiar to gardeners in colder states. Autumn, winter, and early spring provide the moderate temperatures needed by lettuce, carrots, broccoli, peas, and many other crops. Midsummer brings long days, but intense heat, warm nights, heavy rain, and high pest pressure can make it the least forgiving period for conventional vegetables.
Location determines how strongly that pattern applies. North Florida receives more winter cold and has a clearer frost-limited season. Central Florida has milder winters but still experiences occasional freezes. South Florida can grow many vegetables through winter, while its hot, humid summer sharply limits crops that need cool nights. Coastal exposure, elevation, urban heat, and low pockets where cold air settles can shift conditions within the same county.
| Florida region | Primary cool-season opportunity | Main scheduling constraint |
|---|---|---|
| North Florida | Fall and spring | Winter freezes and rapid spring warming |
| Central Florida | Fall through early spring | Occasional frost followed by early heat |
| South Florida | Late fall through winter | Extended heat, humidity, and summer rain |
Use regional planting recommendations as a starting window rather than a promise. A seed packet’s instruction to sow “after the last frost” does not address Florida’s second deadline: the arrival of stressful heat. A tomato planted safely after frost may still flower poorly if it reaches its reproductive stage during very warm nights. Conversely, planting too early in autumn can expose seedlings to hot soil, heavy downpours, and aggressive insects.
Work backward from the crop’s expected harvest period. If a cool-season vegetable needs several weeks to mature, it must finish before sustained warmth reduces quality or encourages bolting. Succession sowing—small batches separated by roughly a couple of weeks—usually produces a steadier harvest than one large sowing. It also limits losses when an unexpected hot spell, cold snap, or heavy rain damages one planting.
A practical seasonal check begins with three questions: Is frost still plausible? Will the crop mature before severe heat? Is the soil currently wet enough to rot seeds or dry enough to prevent germination? Consult current local extension guidance for county-level dates, then adjust for the garden’s shade, drainage, and recent weather. The weak approach is copying a national calendar without accounting for Florida’s regional climate.
Which Vegetables Suit Florida Heat and Cool Months?
Crop selection should follow temperature tolerance rather than the appealing idea that Florida supports every vegetable year-round. Warmth extends the calendar, but it does not remove seasonal limits. Cool-season crops tend to produce better texture and flavor when days are mild, while genuinely heat-tolerant vegetables continue growing when tomatoes, beans, or leafy greens may struggle.
During the cooler window, gardeners can consider broccoli, cabbage, collards, kale, lettuce, radishes, carrots, beets, onions, peas, and potatoes where locally appropriate. These crops are not interchangeable. Lettuce and radishes mature quickly but react rapidly to heat. Carrots need loose soil and steady surface moisture during germination. Broccoli occupies a bed longer and may face caterpillar damage, yet it uses the mild season effectively.
Warm-season choices include tomatoes, peppers, eggplant, cucumbers, squash, snap beans, southern peas, sweet potatoes, and okra. Their tolerance still varies. Okra, southern peas, and sweet potatoes generally fit hot weather better than common tomatoes or cucumbers during Florida’s harshest summer conditions. A gardener who wants midsummer production may get more dependable growth from these heat-adapted crops than from repeatedly replacing stressed tomato vines.
Variety traits matter alongside crop type. Look for descriptions tied to heat tolerance, disease resistance, compact growth, or days to maturity. Shorter-maturing selections can finish before conditions deteriorate. Disease resistance is useful when a known soilborne or foliar problem has occurred, but it does not substitute for rotation, airflow, or sanitation. A variety labeled resistant may still become infected under heavy pressure.
Match crop size to the site as well. Bush beans and compact peppers make efficient use of raised beds or containers. Trellised cucumbers conserve ground space and improve access for inspection, although vines still need room and strong support. Sweet potatoes cover substantial ground and can shade neighboring seedlings, so they work better in a dedicated area than in a tightly mixed bed.
Before buying seed, build a short seasonal plan:
- Choose the growing window. Identify the next period of moderate or hot weather for the region.
- Select crops that can finish within it. Include germination and transplant establishment time.
- Reserve space by mature size. Keep sprawling vines from overwhelming slower crops.
- Plant modest quantities in stages. Repeat successful sowings rather than filling every bed at once.
The common failure is treating “full sun” and “warm season” as proof that a vegetable welcomes extreme summer conditions. Six or more hours of sun may be appropriate in winter, while afternoon shade can reduce stress in hotter periods. Crop labels describe broad needs; Florida gardeners still have to interpret them through season and location.
Building Productive Soil and Watering Correctly
Florida vegetable beds need root-zone management because native soil is often sandy, low in organic matter, and quick to lose water and nutrients. Other properties may have compacted fill, alkaline material near construction, or poorly drained ground. Before adding amendments, observe whether water disappears immediately, ponds after rain, or runs away from the bed.
In sandy sites, compost improves water and nutrient retention, but compost alone gradually decomposes and does not permanently transform the soil. Mix finished compost into the upper root zone before planting and replenish it between growing cycles. Avoid creating a small pocket of highly amended soil surrounded by dry sand; roots perform better when the entire bed has reasonably consistent structure.
Raised beds are useful where drainage is poor, native ground is difficult to work, or gardeners want tighter control over the growing mix. They also dry faster than ground-level beds, especially around exposed edges. Containers dry faster still and may need close attention during windy, sunny weather. The tradeoff is straightforward: greater soil control brings a smaller moisture reserve.
Water deeply enough to moisten the active roots, then reassess rather than following a rigid daily schedule. Seed beds require gentle, frequent surface moisture because newly germinated roots are shallow. Established vegetables benefit from water applied to the soil rather than routinely wetting foliage. Drip lines or soaker hoses reduce splash and place moisture near roots, although emitters must be checked for clogs and uneven coverage.
Mulch moderates soil temperature, slows evaporation, and reduces soil splash onto leaves. Clean straw, dry leaves, or another suitable organic material can work, provided it is not packed against stems. Leave a small gap around plant bases so the crown does not remain constantly wet. Mulch also hides the soil surface, so lift it periodically to check moisture rather than assuming the bed is damp underneath.
Wilting is not automatically proof that a plant needs more water. Leaves may droop temporarily during intense afternoon heat even when the root zone is moist. Check the soil several inches down and inspect again in the cooler morning. Persistent morning wilt, dry soil beneath the mulch, slow growth, or blossom and fruit problems can signal inadequate or erratic moisture. Yellowing, soft roots, algae, and a sour-smelling saturated bed point toward excess water or drainage trouble.
Fertilizer should respond to soil conditions and crop demand, not a belief that more feeding offsets stress. Heavy rain and frequent irrigation can move soluble nutrients beyond shallow roots, while excessive nitrogen encourages tender foliage and may delay fruiting. A soil test through a reputable laboratory or local extension service can clarify pH and nutrient needs. Apply any product according to its label, divide applications when appropriate, and keep granules away from stems.
How Should Gardeners Manage Heat, Pests, and Disease?
Frequent observation is the most effective first line of defense in a Florida vegetable plot. Warm temperatures speed insect development, while humidity and leaf wetness favor many foliar diseases. A problem found on two leaves is easier to assess than one discovered after an entire planting has declined.
Inspect both leaf surfaces, new growth, stems near the soil, flowers, and developing fruit several times each week. Chewed edges suggest a different culprit from winding leaf mines, clustered sap-feeding insects, or spots surrounded by yellow tissue. Identify the problem before choosing a control. Spraying an insecticide for a nutrient disorder wastes money, while treating every insect can remove pollinators and predators without addressing the actual damage.
Physical and cultural controls often make the best first response. Hand-pick larger caterpillars or beetles from a small bed, remove severely affected leaves when enough healthy foliage remains, and clear crop residue after harvest. Trellising and proper spacing improve airflow and make inspection easier. Rotate plant families when space permits; moving tomatoes a few feet within the same chronically affected bed may not create meaningful separation from a soilborne problem.
Fine insect netting or row cover can protect young plants from certain pests, but it must be installed before infestation and secured at the edges. Covers can trap heat, and flowering crops that require insect pollination need access at the appropriate stage. Shade cloth may reduce afternoon stress, yet overly dense shade produces weak growth and lower yields. Use these tools to modify a specific risk, not as permanent barriers applied without monitoring.
Rainy weather changes priorities. Avoid working among wet plants when doing so could spread diseased tissue from leaf to leaf. Redirect sprinklers that keep foliage wet, remove fallen produce, and maintain drainage around beds. After a storm, check for exposed roots, broken stems, standing water, and mulch pressed against crowns. Repeated leaf spotting or collapse may require diagnosis through a county extension office rather than another unverified treatment.
When a pesticide is justified, the label determines the legal crop use, target pest, mixing directions, protective precautions, and harvest interval. A product permitted on ornamental plants is not automatically suitable for edible crops. “Organic” also does not mean harmless to beneficial insects or safe to apply without restrictions. Choose the least disruptive labeled option that fits a confirmed problem, treat only where needed, and avoid spraying open flowers when pollinators are active.
Signs that the management approach is working include undamaged new leaves, stable fruit set, firm stems, and a declining pest population. Continuing damage on fresh growth, rapid spread after rain, or repeated plant death indicates that identification, timing, drainage, or crop choice needs reconsideration. Sometimes removing a failing crop and replacing it with one suited to the current season is more productive than escalating treatments.
Frequently Asked Questions
What is the best month to start a vegetable garden in Florida?
There is no single statewide month. Autumn is a major starting period for cool-season vegetables, while warm-season crops are scheduled around frost risk and rising heat. Use planting dates for North, Central, or South Florida and adjust for current local weather.
Can vegetables grow in Florida during summer?
Yes, but the choices narrow. Okra, southern peas, sweet potatoes, and other heat-adapted crops generally tolerate summer better than lettuce or many common tomatoes. Drainage, mulch, pest monitoring, and realistic expectations become especially important.
Do Florida vegetable gardens need afternoon shade?
Some crops benefit from afternoon shade during hot periods, especially leafy vegetables and container plants. Too much shade reduces flowering and yield, so use it as seasonal heat relief rather than assuming every vegetable should be grown out of full sun.
How often should a Florida vegetable garden be watered?
Water according to root-zone moisture, crop stage, soil type, and rainfall rather than a fixed schedule. Seedlings and containers need more frequent checks, while established in-ground plants should be watered deeply enough to moisten their roots without leaving the soil saturated.
What is the easiest vegetable for a Florida beginner?
The easiest choice depends on season. Radishes and leafy greens are approachable in cool weather, while okra and southern peas are better candidates for heat. A season-matched crop in a small, well-drained bed is easier than a large mixed planting.
Conclusion
A productive Florida vegetable plot begins with regional timing, not a conventional spring planting date. Decide whether the coming weeks favor cool-season or heat-adapted crops, then select varieties that can mature before the next weather constraint. Prepare a well-drained root zone, add finished organic matter where needed, and use mulch and targeted irrigation to keep moisture reasonably even.
Start with a manageable bed and stagger a few plantings instead of committing the entire space at once. Check new growth, leaf undersides, soil moisture, and drainage frequently enough to catch changes early. If plants repeatedly fail, reconsider the season, crop choice, and site conditions before adding more fertilizer or pesticide. The most useful next step is to compare a local extension planting calendar with the garden’s sunlight, recent weather, and known soil behavior, then schedule the next sowing around those realities.