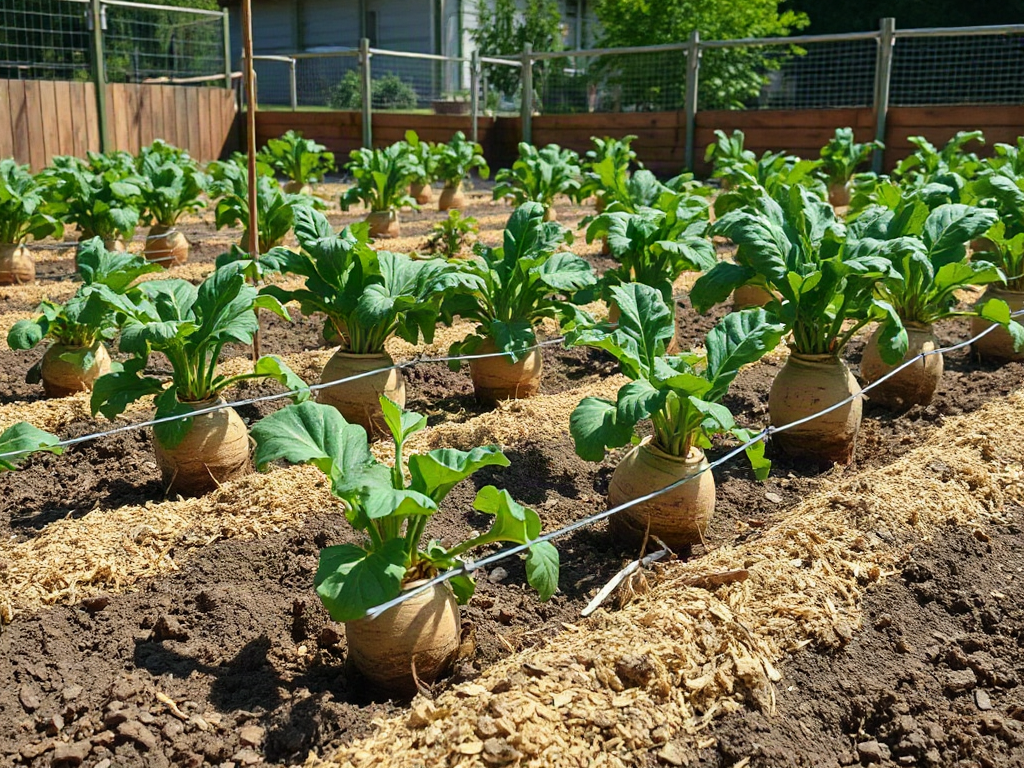
Yam farming requirements for a productive garden plot center on warm weather, loose fertile soil, healthy planting setts, reliable moisture, and enough space for vigorous vines. Build raised mounds or ridges where drainage is uncertain, because waterlogged soil encourages tuber decay and misshapen growth. Plant after the soil has warmed, place each sett with a sound bud or viable skin section, and provide stakes before vines become tangled. Keep weeds down during establishment, but avoid deep cultivation near developing tubers.
What you’ll learn
This guide covers the following practical points:
- Climate, Site, and Space Requirements — Yams perform best in a warm, sunny position with a long growing season and protection from frost.
- Soil Preparation and Fertility — Deep, loose, well-drained soil gives yam tubers room to enlarge without meeting hard layers, stones, or standing water.
- Planting Material, Timing, and Layout — Healthy, correctly identified planting material is the foundation of an even yam stand.
- Vine Support, Water, and Weed Control — Early crop care should establish vigorous vines without keeping the root zone constantly wet.
Climate, Site, and Space Requirements
Yams perform best in a warm, sunny position with a long growing season and protection from frost. True yams belong to the genus Dioscorea and should not be confused with sweet potatoes, which have different growth habits. Before buying planting material, identify the species or cultivar and confirm that its season length fits the local climate.
Choose a plot receiving at least six hours of direct sun, preferably more where summers are mild. Avoid low pockets where cold air settles or rainwater stands. Yams produce large underground organs and extensive vines, so a cramped bed shaded by buildings or trees will restrict both leaf growth and tuber development.
Space must be planned vertically as well as horizontally. A sturdy trellis, pole, or stake keeps vines off neighboring crops and exposes more foliage to light. Install support before or soon after planting; pushing a stake into the bed later can pierce an expanding tuber. Gardeners in windy sites should use anchored posts rather than thin canes that may collapse under mature vines.
A common mistake is treating yams as compact root vegetables that can fill gaps between other crops. Their long season and climbing growth make a dedicated row or bed more practical. Where the frost-free period is marginal, planting into dark, well-drained raised beds may warm the root zone earlier, but it cannot compensate for a cultivar that requires a much longer season.
Soil Preparation and Fertility
Deep, loose, well-drained soil gives yam tubers room to enlarge without meeting hard layers, stones, or standing water. Sandy loam or friable loam is generally easier to manage than dense clay. In compact ground, form broad ridges or mounds and loosen the planting zone deeply without bringing infertile subsoil to the surface.
Remove stones, perennial weed roots, and undecomposed woody debris from the future tuber zone. Mix mature compost into the upper soil rather than packing fresh manure directly around planting pieces. Fresh or overly rich organic material can create uneven nutrient release, while poorly decomposed matter may temporarily compete for nitrogen or hold excessive moisture against the sett.
| Plot Condition | Useful Preparation | Warning Sign |
|---|---|---|
| Heavy clay | Use raised ridges and add mature compost | Water remains after rain |
| Very sandy soil | Add organic matter and mulch after warming | Plants wilt soon after watering |
| Compacted bed | Loosen deeply before planting | Fork meets a hard layer |
| Previously fertile bed | Use modest amendments based on soil condition | Dense vines with weak tuber growth |
A soil test is more useful than guessing at fertilizer rates. Yams need balanced nutrition, but excessive nitrogen favors lush vines at the expense of underground growth. Where testing is unavailable, use conservative amounts of mature compost and observe the crop rather than repeatedly applying high-nitrogen feed. Pale plants can reflect poor drainage, damaged roots, cold soil, or unsuitable pH—not merely fertilizer shortage.
Drainage deserves priority over richness. A moderately fertile mound that sheds surplus rain is safer than a heavily amended hollow that stays wet. If a test shows strongly acidic or alkaline soil, make measured amendments before planting rather than attempting a large correction around actively growing roots.
Planting Material, Timing, and Layout
Healthy, correctly identified planting material is the foundation of an even yam stand. Depending on the yam type and local practice, growers may use small whole tubers, cut tuber setts, or bulbils. Obtain stock from a reputable, disease-aware source; grocery-store tubers may be treated, mislabeled, damaged, or poorly suited to the climate.
Plant when frost danger has passed and the soil is genuinely warm rather than merely after one mild week. Cold, wet soil slows sprouting and increases the chance that cut material will rot. If tubers are divided, each sett needs viable tissue capable of sprouting. Use a clean blade, discard pieces with soft rot or suspicious discoloration, and allow cut surfaces to dry and seal before planting when that practice suits the yam type.
A Practical Planting Sequence
- Prepare mounds or ridges and install sturdy supports.
- Sort planting pieces by health and approximate size for more uniform emergence.
- Plant at the depth and orientation appropriate to the identified species.
- Water lightly to settle the soil without saturating the sett.
- Mark each planting point so weeds can be removed before shoots appear.
Spacing varies with species, tuber form, support system, and soil fertility, so the supplier’s cultivar guidance should take precedence over a universal measurement. Plants set too closely create a dense canopy that is difficult to inspect and may compete for moisture. Excessively wide spacing wastes bed area but is usually less damaging than crowding vigorous vines.
Do not assume that every unsprouted sett is dead after a short wait. Some yams emerge slowly, especially in marginal temperatures. Digging repeatedly to check them can break new shoots and introduce decay. Investigate only when the soil smells sour, remains saturated, or neighboring pieces have emerged much earlier.
Vine Support, Water, and Weed Control
Early crop care should establish vigorous vines without keeping the root zone constantly wet. Water after planting, then judge subsequent irrigation by soil moisture below the surface. The bed should remain evenly moist during active growth, but air must still reach the roots. Shallow daily sprinkling encourages surface rooting, while heavy irrigation in poorly drained soil raises rot risk.
Guide young shoots onto their supports while they remain flexible. Loosely direct the vine rather than tying it tightly, because stems thicken and move in wind. The natural twining direction may differ among yam species; forcing a vine repeatedly in the wrong direction causes it to unwind or kink. Once established, vines usually continue climbing with limited help.
Weed control matters most before the yam canopy becomes dominant. Hand-pull small weeds or hoe very shallowly around marked plants. Deep hoeing can cut roots or damage enlarging tubers. A light organic mulch suppresses later weeds and slows moisture loss, but applying thick mulch over cold, wet ground can delay warming and shelter pests.
Check the plot weekly for practical signals. New leaves, lengthening vines, and soil that remains moist but crumbly indicate that the basic system is working. Persistent yellowing, stalled growth, wilting in wet soil, or a sour odor calls for inspection of drainage and roots. Wilting in dry, loose soil points instead to insufficient water. Distinguishing those conditions prevents the common error of watering an already waterlogged plant.
Pest, Disease, and Harvest Signs
Regular inspection catches damage while it is still localized. Examine vine tips, leaf undersides, stems near the soil, and exposed tuber shoulders. Chewed foliage, tunneling, scale-like insects, dark stem lesions, soft tissue, or spreading leaf spots require closer identification before treatment. Remove badly decayed material and sanitize tools between questionable plants rather than moving contaminated soil through the bed.
Rotation reduces the buildup of problems associated with repeatedly growing yams or closely related hosts in one location. Start the next crop in a different bed when space permits, control volunteer plants, and avoid saving planting pieces from diseased or badly damaged tubers. Pesticide use should follow a confirmed identification and the product label for the crop and location; random spraying may miss the cause and harm beneficial organisms.
Harvest timing depends on the yam species and intended use, but yellowing and dying vines commonly indicate declining growth and approaching maturity. Test one plant before lifting the whole row. Loosen soil from the side with a fork or digging tool kept well away from the expected tuber position, then work inward by hand. Pulling the vine can snap the tuber underground.
Handle harvested yams gently because cuts and bruises create entry points for decay. Keep damaged tubers separate for prompt use rather than placing them with sound storage stock. Storage conditions differ among yam types, and chilling can injure tropical yams, so confirm the needs of the cultivar instead of assuming that refrigeration is suitable.
Frequently Asked Questions
What type of soil is best for growing yams?
Loose, deep, well-drained loam is ideal because tubers can expand without meeting stones, compaction, or stagnant water. Heavy ground is more workable when formed into broad raised ridges with mature compost.
Do yams need a trellis?
Most true yams benefit from strong vertical support for their long vines. Install poles or a trellis before tubers enlarge so later construction does not damage the crop.
Can a grocery-store yam be planted?
It may sprout, but identity, disease status, treatment history, and climate suitability are uncertain. Labeled planting stock from a reputable supplier is a more dependable choice.
Why are yam vines growing well but tubers staying small?
Possible causes include excessive nitrogen, shade, crowding, compact soil, a short growing season, or harvesting too early. Check the whole growing environment before adding more fertilizer.
How do I know when yams are ready to harvest?
Natural vine yellowing and dieback often signal approaching maturity. Because timing varies by species and climate, carefully lift one test plant before harvesting the entire plot.
Conclusion
A productive yam plot is built before planting: match the cultivar to the warm season, choose a sunny site, loosen the tuber zone, correct drainage, and install supports. Use sound planting pieces and conservative fertility, then watch moisture, vine growth, and leaf condition instead of following a rigid watering schedule. During harvest, dig from outside the mound and separate damaged tubers. Recording planting dates, soil amendments, emergence, and harvest condition will make the next crop more predictable.