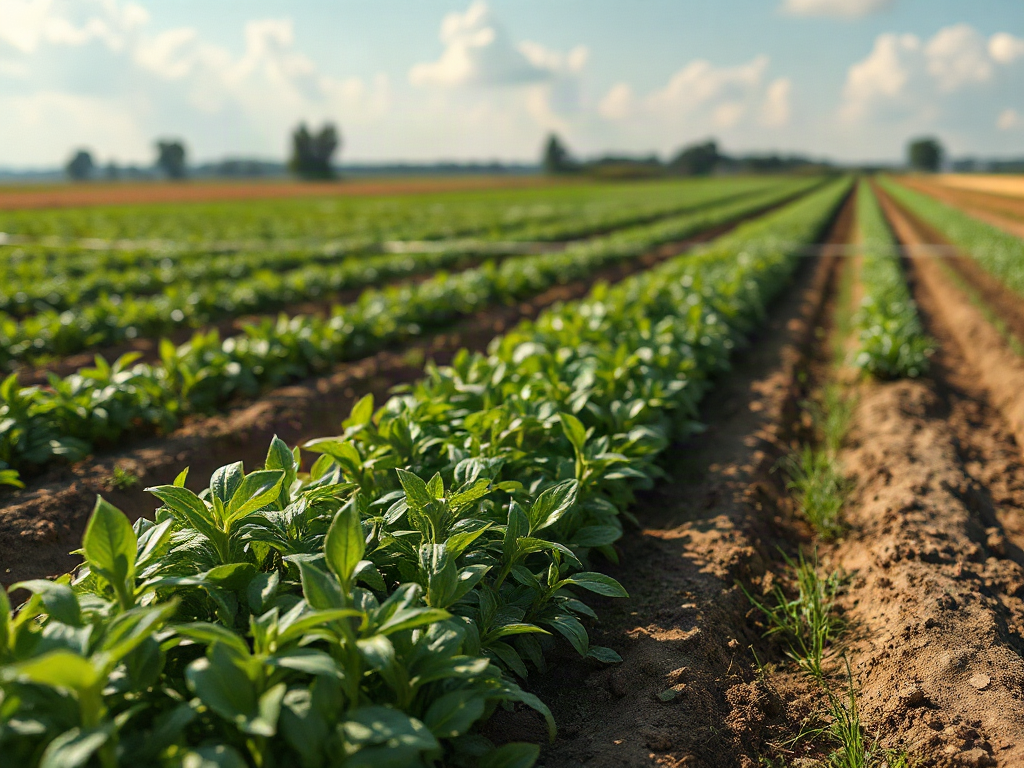
Arable farming on a small field means producing annual crops by coordinating soil capability, crop rotation, access lanes, and workable machinery space within a limited area. Divide the land according to drainage and soil conditions rather than forcing equal plots, then assign crops according to planting dates, nutrient demand, weed pressure, and harvest access. A workable plan protects vulnerable ground with cover crops, avoids repeating related crops in one plot, and leaves room for turning and transporting produce. Before buying seed, confirm the field’s usable area, soil test results, water movement, market or household needs, and the labor available during planting and harvest.
What you’ll learn
This guide covers the following practical points:
- What Counts as Arable Farming on a Small Holding? — Arable farming is the cultivation of land for crops that are normally sown and harvested within a growing cycle, rather than land kept primarily for grazing or permanent tree crops.
- How Should You Assess the Land Before Dividing the Field? — Field boundaries should follow meaningful changes in soil, slope, drainage, and access rather than an arbitrary grid.
- How Do You Build a Workable Small-Field Rotation? — A useful rotation changes both the crop family and the field conditions created by each crop.
- Match the Layout to Equipment, Access, and Labor — The field layout must fit the working width and turning needs of the tools that will actually be used.
What Counts as Arable Farming on a Small Holding?
Arable farming is the cultivation of land for crops that are normally sown and harvested within a growing cycle, rather than land kept primarily for grazing or permanent tree crops. Familiar arable crops include wheat, oats, barley, dry beans, peas, potatoes, oilseeds, and maize. On a homestead-sized field, the definition can also cover market-scale blocks of sweet corn, squash, storage roots, or other annual crops grown with field methods rather than individual garden beds.
The distinction affects planning because cultivated ground is repeatedly disturbed by planting, weed control, and harvesting. That disturbance can create a seedbed, but it can also expose soil to crusting, erosion, compaction, and nutrient loss. A field that looks spacious when covered with grass may have much less usable cropping area after wet corners, access routes, turning space, buffer strips, and awkward slopes are removed.
Small arable production also differs from vegetable gardening in scale and handling. A garden may support close spacing, hand watering, intensive compost use, and frequent attention to individual plants. A field crop has to work as a repeatable block: rows must suit the seeder or cultivator, the crop should mature within the available season, and the harvest must have a practical destination. Planting a large patch of grain without a way to thresh, dry, and store it is not a complete production plan.
Begin by deciding what the field must accomplish. Household staples, animal feed, soil improvement, and cash crops create different priorities. Dry beans may provide storable food but demand timely weed control and dry harvest weather. Oats may be easier to fit into a soil-building rotation, yet processing them for household use requires additional equipment. Potatoes can yield useful food from modest space, but they bring substantial planting, hilling, lifting, and storage work.
A common misconception is that every available square foot should produce a saleable or edible crop. Ground under a well-chosen cover crop is still productive: roots protect soil structure, living growth captures nutrients, and residue supplies organic matter. On a constrained site, dependable soil cover and manageable workload are usually more valuable than filling the field with crops that cannot be tended or harvested on time.
How Should You Assess the Land Before Dividing the Field?
Field boundaries should follow meaningful changes in soil, slope, drainage, and access rather than an arbitrary grid. Walk the land after rainfall and again during a dry period. Mark places where water ponds, where runoff concentrates, where topsoil becomes shallow, and where equipment leaves ruts. These observations reveal management zones that may not appear on a property map.
A laboratory soil test provides the starting point for nutrient and pH decisions. Sample separately where the soil color, past use, drainage, or crop performance differs. Combining a productive loam and a persistently wet corner into one sample can produce an average result that represents neither area. Follow the laboratory’s sampling directions, record where each sample came from, and use locally appropriate recommendations rather than adding lime or fertilizer by habit.
Texture and drainage determine when the field can be worked. Clay-rich ground may hold nutrients and moisture well, but cultivating it while wet can compress pores into dense clods that remain difficult for roots to penetrate. Sandier soil often becomes workable sooner, although it may dry quickly and retain fewer nutrients. A handful test can provide a rough field impression, but it does not replace soil analysis or direct observation across seasons.
Measure usable area after identifying exclusions. A nominal one-acre parcel may include a driveway, headlands, hedges, utility access, shade, and a wet swale. The remaining cropped area should then be divided into blocks that can receive different crops without complicating every pass. Four workable blocks are often more useful than eight narrow strips if the latter require constant turning and leave little room for cultivation.
| Field Feature | What to Check | Planning Response |
|---|---|---|
| Wet depression | Ponding, gray soil, delayed drying | Keep out of early tillage; consider perennial cover or drainage advice |
| Sloping ground | Runoff paths and exposed soil | Keep rows across the slope where suitable and maintain protective cover |
| Compacted entrance | Ruts, standing water, poor crop growth | Confine traffic and avoid treating it as normal crop area |
| Variable soil | Changes in texture, color, or vigor | Sample and manage contrasting zones separately |
The warning sign of a weak layout is repeated conflict with the land: seed rots in the same wet patch, the tractor cannot turn without crossing crops, or runoff cuts through freshly prepared soil. Redrawing a boundary is often cheaper than repeatedly correcting damage. Where erosion, drainage alteration, or runoff beyond the property is a concern, seek location-specific guidance from an extension service or conservation professional before making major earthworks.
How Do You Build a Workable Small-Field Rotation?
A useful rotation changes both the crop family and the field conditions created by each crop. Alternating names on paper is not enough. Root depth, planting date, residue, nutrient demand, harvest disturbance, and weed-control opportunities should differ enough to interrupt recurring problems and distribute work across the season.
Start with the crops the household, livestock, or market can actually use, then place soil-building periods around them. For example, a small field could move from potatoes to an autumn-sown cover, then to peas or beans, followed by a cereal crop underseeded with clover. The precise sequence must suit local climate and pest pressures, but the reasoning is broadly practical: avoid following a crop with a close relative, do not leave harvested soil bare, and use contrasting sowing dates to prevent one weed group from dominating.
Legumes can contribute biologically fixed nitrogen when compatible bacteria, healthy roots, and suitable conditions are present, but they are not a limitless fertilizer source. Much of the nitrogen remains in harvested seed or plant tissue, and availability to the next crop depends on what residue remains and how it decomposes. A soil test and crop-specific nutrient plan are more reliable than assuming any bean or clover crop will meet all subsequent needs.
Rotation length should reflect the field’s constraints. More blocks create more opportunities to separate crop families, but tiny blocks increase setup time and awkward turns. If space does not permit a long rotation, reduce the area devoted to a problem-prone crop rather than planting it repeatedly in the same ground. Keeping a simple field history prevents accidental repetition when memory becomes unreliable.
Use a compact planning checklist for every block:
- Previous crop: Note its family, residue, disease issues, and weed escapes.
- Next crop: Confirm sowing window, fertility needs, row spacing, and harvest method.
- Cover interval: Choose what will protect the soil before the next cash or food crop.
- Exit plan: Decide how residue will be managed without delaying the following planting.
A rotation is failing when the same weed becomes harder to control, related crops show recurring damage, bare periods lengthen, or planting dates repeatedly collide. The correction may be a different sequence, fewer crop types, or a longer soil-building phase. Diversity is useful only when each crop can be planted, managed, and removed at the right time.
Match the Layout to Equipment, Access, and Labor
The field layout must fit the working width and turning needs of the tools that will actually be used. A mathematically neat plan can become inefficient if a walk-behind tractor, compact tractor, wheel hoe, or harvest cart cannot move through it without crushing plants. Design rows, paths, and headlands as parts of the production system rather than leftover space.
List each field operation before fixing block dimensions: seedbed preparation, seeding, cultivation, irrigation where needed, harvest, residue management, and cover-crop establishment. Then identify the widest implement and the task requiring the most turning room. Permanent access along one edge may sacrifice a little planted area, but it can prevent repeated traffic through the crop and keep harvesting possible after light rain.
Equipment should match the scale and crop value. A small grain block may be easy to sow but difficult to harvest efficiently without specialized machinery. Hiring a contractor can solve that problem only if the area, gateway, turning space, and timing make the job worthwhile for the operator. Hand harvesting is possible at very small scale, though cutting, threshing, cleaning, and drying require far more labor than the planting area suggests.
Labor peaks matter just as much as total annual hours. Potatoes, dry beans, and squash may all demand attention near the same harvest period. Planting all three because they fit agronomically can still create an unmanageable schedule. Staggered maturity dates, smaller areas, or a crop that can wait safely in the field may produce a more resilient plan than maximizing theoretical yield.
Storage and post-harvest handling should be settled before sowing. Grain needs protection from moisture and pests; potatoes require suitable curing and storage conditions; dry beans must reach a safe condition for storage and be cleaned. Market crops may need washing, grading, containers, and rapid transport. If those systems are absent, reduce the planted quantity to what can be handled reliably.
Watch for operational warning signs during the season. Excessive reversing, wheel marks across beds, missed cultivation because rows do not match the tool, and produce waiting in the sun all indicate that the layout exceeds available capacity. Adjusting row count or block width the following season is not lost production; it is a practical response to measured bottlenecks.
Turn the Field Plan Into a Seasonal Schedule
A field map becomes useful when every block is connected to a realistic sequence of dates and decisions. Record target windows rather than relying on one exact calendar day, because soil condition and weather determine whether fieldwork is appropriate. The schedule should show not only sowing and harvest, but also soil sampling, seed ordering, stale-seedbed preparation, cultivation, cover-crop establishment, and equipment maintenance.
Work backward from the limiting event. If a cover crop needs enough growing time before cold weather, the preceding crop must be harvested early enough to prepare and sow that block. If dry beans normally mature during a wet part of the local season, a shorter-season variety or smaller planting may reduce exposure. Local extension planting calendars and seed maturity information can help establish reasonable windows, but field conditions still govern the final decision.
Set checkpoints that reveal whether the plan is working. After planting, assess emergence uniformity and areas where water has collected. During early growth, note weed density, cultivation access, and visible differences between management zones. Before harvest, confirm labor, containers, transport, drying space, and storage. After harvest, record yield in practical terms, crop losses, labor bottlenecks, and the date protective cover was restored.
Do not interpret every weak crop as a fertilizer shortage. Poor emergence can result from crusting, seed depth, cold soil, pests, or waterlogging. Yellow growth may reflect saturated roots rather than low nitrogen. Adding nutrients without identifying the cause wastes money and may create runoff or excessive vegetative growth. Compare affected and healthy parts of the field, inspect roots and soil moisture, review the planting operation, and use appropriate local diagnostic services when the cause remains unclear.
The first season should function as a measured trial. Plant enough to test the system without committing the entire field to unfamiliar crops or unproven sales. Keep notes on actual work time, input quantities, harvest volume, storage losses, and buyer or household demand. Signs of a sound plan include timely operations, accessible rows, limited bare soil, and a harvest that can be processed promptly. Repeated emergency weeding, delayed planting, unharvested produce, or uncovered ground point to excessive scale or complexity. Simplify the next plan around the operations that proved dependable.
Conclusion
Small-field arable production works best when the plan reflects usable ground rather than property size. Map wet areas, slopes, traffic routes, and changing soils before drawing crop blocks. Test distinct soil zones, select crops with a clear use, and build a rotation that varies crop family, planting season, rooting pattern, and residue. The layout must also accommodate the tools, harvest method, storage space, and busiest labor weeks.
For the first season, treat part of the field as a controlled trial and maintain records by block. Review where operations ran late, where equipment damaged soil, and whether the harvest could be processed promptly. Expand only the crops and block sizes that fit the land and the working capacity available. A slightly smaller cultivated area with timely fieldwork and continuous soil protection is more dependable than a fully planted field that repeatedly outruns labor.
Frequently Asked Questions
Is a vegetable plot considered arable land?
It can be. Arable land is cultivated for annual crops, so a field-scale vegetable plot generally fits the term. A permanent orchard or pasture is normally classified differently because the land is not regularly replanted with annual crops.
How many crop blocks should a small field have?
Use as many blocks as can remain practical for equipment and labor. Three to five blocks may support a basic rotation, but soil zones and workable dimensions matter more than forcing a particular number.
Should every block be the same size?
No. Equal blocks simplify rotation records, but boundaries should first respect drainage, slopes, access, and differing soil. Crop demand and equipment width may also justify unequal areas.
Can a small arable field be managed without a tractor?
Yes, if the planted area, crops, and row layout suit hand tools or walk-behind equipment. Grain and large storage-crop areas become labor-intensive at harvest, so handling requirements should limit scale.
What records are most useful for next year’s plan?
Record each block’s crop, variety, planting and harvest dates, soil amendments, weed or disease issues, labor peaks, harvested quantity, storage losses, and following cover crop.