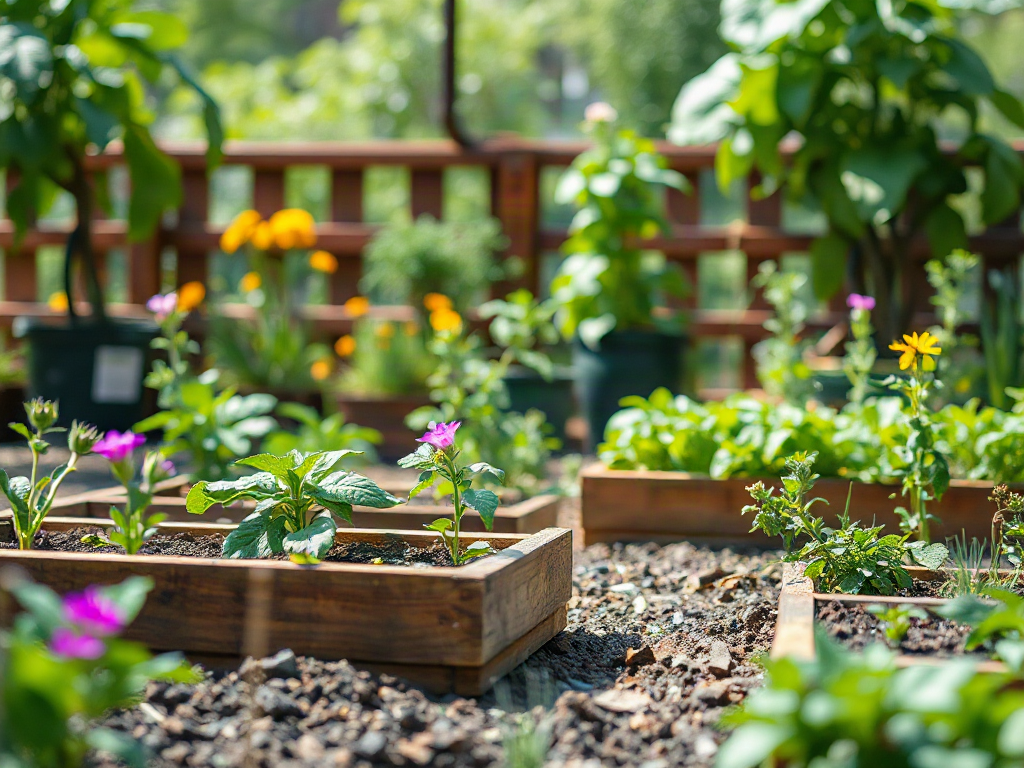
A successful community garden startup for shared growing begins by confirming land access, sunlight, water, soil safety, and who will handle recurring work before anyone builds beds. Organizers should document site permission, test or isolate questionable soil, estimate water demand, and choose between individual plots and collectively managed crops. Written rules then need to assign maintenance, harvest rights, expenses, tool access, and conflict resolution without making participation unnecessarily burdensome. Begin with fewer beds than the group could theoretically fill, review participation after one growing season, and expand only when watering, weeding, communication, and leadership remain dependable.
Define the Garden’s Purpose and Management Model
A shared growing space needs a specific operating purpose before it needs lumber, compost, or seeds. A neighborhood seeking affordable household produce will make different choices from a teaching garden, a communal food pantry plot, or a social space built around group workdays. The purpose affects plot size, crop ownership, accessibility, volunteer expectations, and how success will be judged after the first season.
Choose the management model early. Individual plots give each member control over planting and harvest decisions, which can reduce disputes over who receives the produce. They also create uneven maintenance when a plot holder becomes busy or loses interest. Fully communal beds allow coordinated crop rotation, bulk purchasing, and shared harvests, but they require reliable communication and a clear method for dividing food. A hybrid model often works well: members manage assigned beds while maintaining several shared areas for herbs, pollinator plants, compost, or donation crops.
A small organizing group should handle decisions that cannot wait for a full membership vote. Useful roles include a site liaison, treasurer, membership coordinator, and maintenance lead. Titles matter less than named responsibility. If everyone is generally responsible for contacting the landowner or checking the water system, those jobs are likely to go undone. Record who can approve purchases, communicate closures, hold keys, and respond when a bed is abandoned.
Test the model with a realistic estimate of participation rather than a list of interested names. Ten people who attended two planning meetings are a stronger starting base than fifty people who clicked an online form. Begin with enough beds for active members plus a small waiting margin. Empty plots quickly fill with weeds, create resentment among regular volunteers, and make the project appear neglected to neighbors or property owners.
Before committing money, write a one-page operating outline covering:
- Primary use: household plots, shared harvests, education, donations, or a defined combination.
- Decision authority: who handles routine issues and which decisions require a member vote.
- Participation: expected workdays, fees, communication channels, and attendance requirements.
- Continuity: how responsibilities transfer when a coordinator leaves.
The warning sign at this stage is enthusiasm without ownership. If volunteers readily discuss crops but nobody will manage membership records, water access, or landowner communication, reduce the project’s scope until those responsibilities have dependable owners.
How Do You Evaluate a Community Garden Site?
A workable site combines secure permission, adequate sun, practical water access, suitable drainage, and manageable risks. Attractive vacant land can still be a poor choice if access may end without notice or if hauling water consumes every workday. Evaluate the site through repeated visits rather than relying on one inspection during pleasant weather.
Start with control of the land. Obtain written permission from the owner and clarify the approved uses, access hours, duration, renewal process, structures allowed, insurance expectations, maintenance boundaries, and conditions for ending the arrangement. Local rules may affect fencing, sheds, compost, signs, parking, water connections, or public access. Requirements differ by jurisdiction and property type, so confirm them with the landowner and relevant local offices before construction.
Observe sunlight across the growing area. Fruiting crops such as tomatoes, peppers, and squash generally need the brightest locations, while leafy greens and some herbs may remain productive with less direct sun. Buildings and trees can create long shadows that change by season. Tree roots also compete for moisture and can invade beds. Mark sunny, partially shaded, wet, compacted, and high-traffic areas on a simple site sketch before deciding where plots belong.
Soil history deserves special attention on urban, former industrial, roadside, demolition, or fill sites. A standard fertility test does not necessarily screen for contaminants. Ask the testing laboratory what its analysis covers and seek guidance from a local extension office, environmental agency, or qualified soil professional when previous land use is uncertain. Raised beds with clean imported soil can reduce contact with native soil, but they should not be treated as proof that every site hazard has been resolved. Paths, dust, drainage, and digging for posts can still create exposure routes.
Water access should be tested under ordinary operating conditions. Identify who owns the connection, who pays the bill, whether the source is available throughout the growing season, and how hoses will cross the site. A distant faucet may appear adequate until gardeners spend hours moving hoses or create trip hazards. Rain barrels can supplement irrigation, but stored rainfall is rarely a dependable sole source during extended dry periods.
Check drainage after rainfall if possible. Standing water, erosion channels, and runoff entering from neighboring land are more informative than dry-weather appearances. Also note restroom access, parking or transit, tool security, delivery access, and safe routes for children and people with limited mobility. A site is failing evaluation when its core problems require volunteer effort every week merely to keep it usable. Choosing a smaller but secure and well-served parcel is usually better than accepting more land with unreliable tenure or water.
How Should Plots, Water, and Access Be Designed?
Garden design should reduce repeated labor and prevent predictable conflicts. Beds, paths, water points, storage, compost, and gathering areas need to work together; fitting beds into every available corner often leaves no room for wheelbarrows, deliveries, or gardeners passing one another.
Place main paths where they connect the entrance, water source, tool storage, and plots without forcing people to step through growing beds. Paths should remain stable after rain and accommodate the people and equipment expected on site. Accessible plots require more than a raised edge: gardeners also need a usable route, turning space, reachable water controls, and bed dimensions suited to limited reach. Local accessibility requirements may apply where the project is open to the public or connected to an organization.
Choose in-ground plots where soil is suitable, drainage is acceptable, and initial costs need to remain low. Raised beds offer clearer boundaries, easier soil control, and adaptable working heights, but they cost more to build and their soil can dry faster. Deep containers may suit paved spaces or temporary land agreements, although they demand frequent irrigation and eventually need maintenance or replacement. The best format follows site constraints rather than appearance.
Keep permanent crops from interfering with annual plots. Berry shrubs, perennial herbs, asparagus, and fruit trees can occupy space for years, cast shade, and complicate a future relocation. Put them only where the land agreement and management plan support long-term use. Similarly, vigorous vines and tall crops should have designated locations so they do not shade neighboring beds or spread across paths.
A compact startup sequence keeps construction tied to verified needs:
- Stake the entrance, main routes, growing area, and utility zones on the ground.
- Walk the layout with a wheelbarrow, hose, and any mobility equipment members expect to use.
- Install the primary water route and resolve drainage before filling beds.
- Build an initial group of plots while reserving space for later expansion.
- Add storage, compost, seating, and perennial areas only when someone is assigned to maintain them.
Water distribution needs controls as well as reach. Several shorter hose runs or carefully placed spigots can reduce dragging, damaged crops, and arguments over access. Post instructions for shutting off water and reporting leaks. Drip lines can conserve labor at regularly configured beds, but shared systems require inspections because disconnected fittings, clogged emitters, and unapproved modifications affect other plots.
Watch the layout during the first season. Successful design is visible when people can water without blocking paths, materials reach their destination easily, and neglected areas are quickly noticed. Persistent puddles, tangled hoses, compacted shortcuts, inaccessible corners, and overflowing compost indicate that the site plan needs correction before more beds are added.
Set Fair Rules, a Working Budget, and Shared Tasks
Written agreements protect the community garden from inconsistent expectations. Rules should be short enough to read but specific enough to answer recurring questions about eligibility, fees, plot assignment, allowed inputs, harvest ownership, guest access, upkeep, and abandoned beds. A long rulebook that volunteers cannot enforce is less useful than a concise agreement tied to a fair process.
Define the maintenance standard in observable terms. “Keep plots tidy” is subjective; requiring paths to remain clear, weeds to be controlled before seed set, and diseased plant material to be handled appropriately gives members something concrete to follow. Set a contact process before reassigning a neglected plot. Illness, travel, or family demands may justify temporary help, while repeated silence may require release of the bed to someone on the waiting list.
Shared labor should cover genuinely shared assets: paths, water equipment, compost areas, fences, tool storage, and communal beds. Mandatory work hours can distribute the load, but rigid scheduling may exclude shift workers, caregivers, older gardeners, or people with disabilities. Offer equivalent tasks such as recordkeeping, seed inventory, communication, event coordination, or tool repair. The goal is a fair contribution, not identical physical labor.
Build the budget around recurring costs as well as construction. Bed materials and soil attract attention during fundraising, while water charges, replacement hoses, locks, insurance, repairs, waste removal, and soil amendments continue after launch. Separate essential costs from optional improvements and keep a modest reserve. Membership fees may cover predictable expenses, but fee waivers, sponsored plots, or volunteer exchanges can preserve access when affordability is part of the project’s purpose.
Use basic financial controls even when the sums are small. Record income and purchases, retain receipts, require approval above an agreed amount, and report the balance to members at regular intervals. Donated materials should also be evaluated. Old lumber, unknown soil, damaged tools, or unrestricted pesticide donations can create disposal costs or conflict with garden rules. Free material is useful only when it is safe, permitted, and suited to the design.
Conflict procedures should start with direct, documented communication and move to a small designated committee when needed. Common disputes involve shade, encroaching plants, harvested produce, water left running, chemical use, and uneven work. Rules must state that produce from assigned plots belongs to the plot holder unless permission is given; communal harvests need a separate distribution method. Avoid relying on informal assumptions about what “shared” means.
Review the system near midseason and after harvest. Signs of sound management include paid bills, maintained common areas, prompt leak response, active plots, and volunteers other than the founder handling routine decisions. Repeated emergency messages, unexplained spending, chronically empty beds, and dependence on one organizer signal that the project needs fewer commitments, clearer authority, or a redesigned participation model before the next season.
Frequently Asked Questions
How much land does a community garden need?
There is no universal minimum. Match the number of beds to confirmed participants while reserving space for paths, water access, storage, compost, and deliveries. A well-managed small site is more useful than a larger parcel filled with vacant plots.
Should a community garden use raised beds?
Raised beds are useful where native soil is unsuitable, boundaries need to be obvious, or adaptable working heights are desired. They cost more and dry faster than many in-ground plots, so choose them for a defined site need rather than appearance alone.
Who pays for water and supplies?
The written land agreement should identify responsibility for water. Membership fees, grants, sponsors, and fundraising may cover supplies, but recurring costs need a dependable annual funding source rather than one-time donations.
What happens when someone abandons a plot?
Use a documented notice process with a reasonable response period, an option to request temporary help, and a stated reassignment date. Clear procedures protect both the member experiencing a hardship and people waiting for a plot.
Can gardeners sell produce grown in community plots?
That depends on the land agreement, garden rules, and applicable local requirements. Decide the policy before planting and confirm any restrictions connected to the property owner, funding source, zoning, or organizational sponsor.
Conclusion
A durable community garden is built around reliable access and workable responsibilities rather than maximum bed count. Confirm written permission, seasonal water, sunlight, drainage, and soil suitability before spending money. Then select a management model that makes ownership of crops and maintenance duties unmistakable.
Design the first phase for the members who consistently participate, leaving room to expand after the site has completed a full growing season. Keep rules concise, provide a fair process for neglected plots and disputes, and budget for recurring expenses instead of treating construction as the final cost. The next practical move is to assemble a small organizing team, document the garden’s purpose, and walk the proposed site with the landowner. Unresolved questions about tenure, water, soil, or decision authority should be settled before beds are built.